
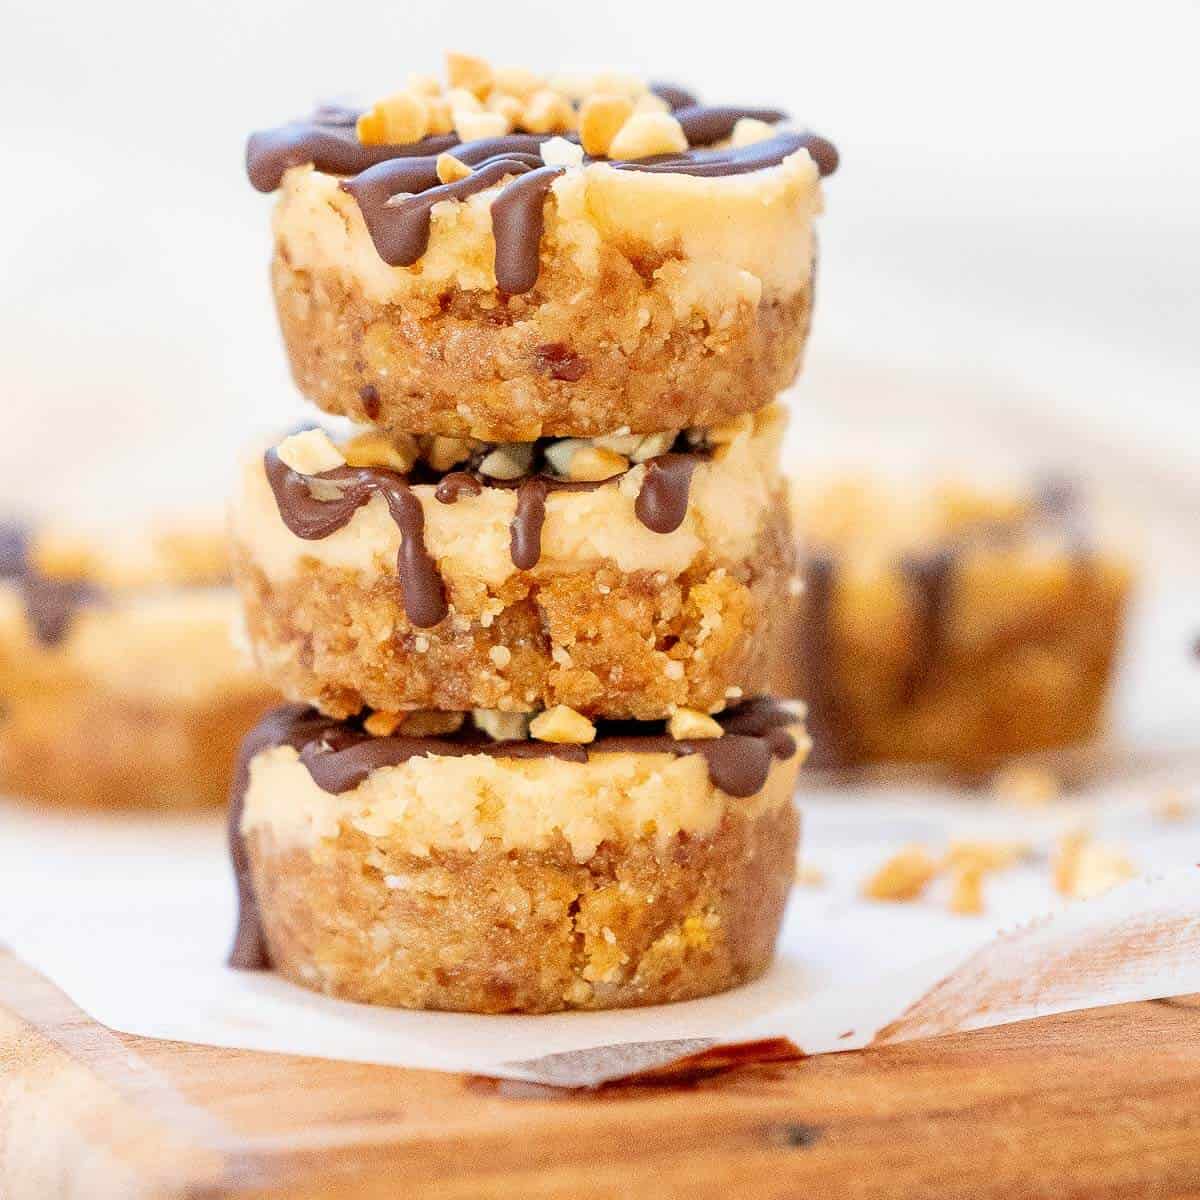
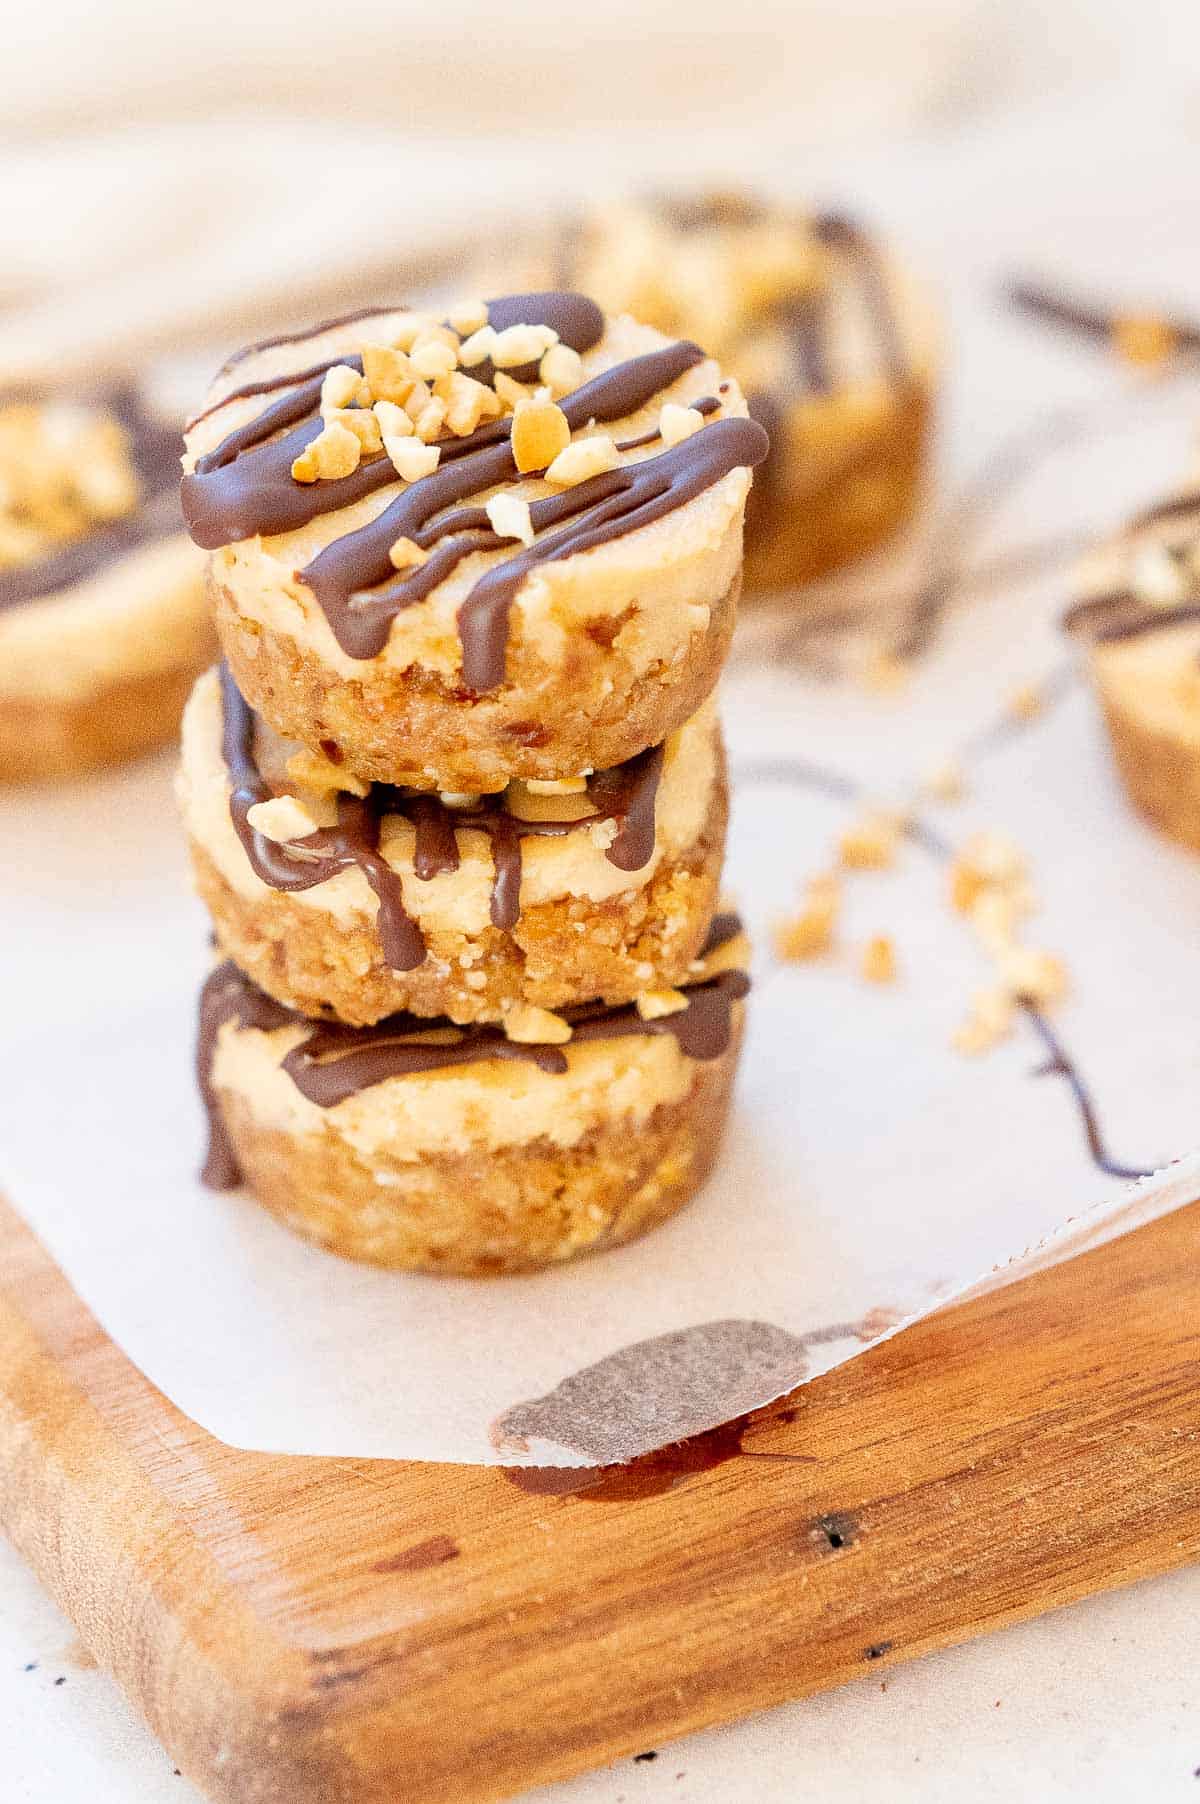
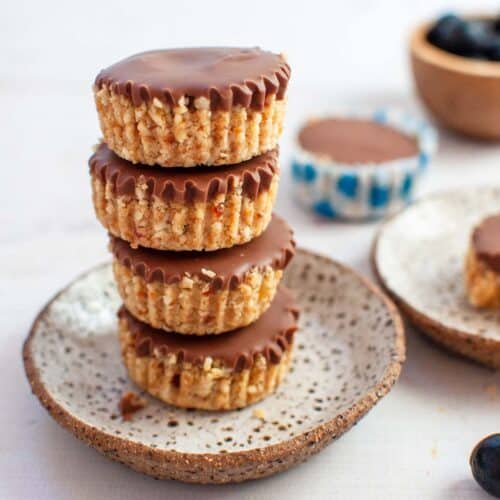
Peanut butter desserts are one of my favourite and these no bake mini peanut butter cheesecakes are quick and easy to make even if you're not used to making cheesecakes! They're perfectly bite sized, with sweet and creamy peanut butter and honey filling, nutty base and dark sugar free chocolate drizzled on top. Oh and nuts for extra texture.
Save This Recipe!
Recipe Highlights
- These are a perfect bite sized dessert and quick to make
- They're naturally sweetened with a little honey
- They keep in the fridge for a week
- Perfect for making ahead
- Great cure for after dinner cravings
- No oven, basic ingredients, sets in the fridge
- They sweet and creamy, nutty, with hints of honey
- The chocolate drizzle on top is easy and quick to do
The recipe uses basic ingredients and there is no gelatine to worry about as these cheesecakes set firm in fridge thanks to the peanut butter. These Sugar Free Peanut Butter Cups with Chocolate on Top aren't a cheesecake, but use the same flavour combination and set in the fridge. Also similar is this Chocolate Peanut Butter Mug Cake - a perfect quick dessert for one.
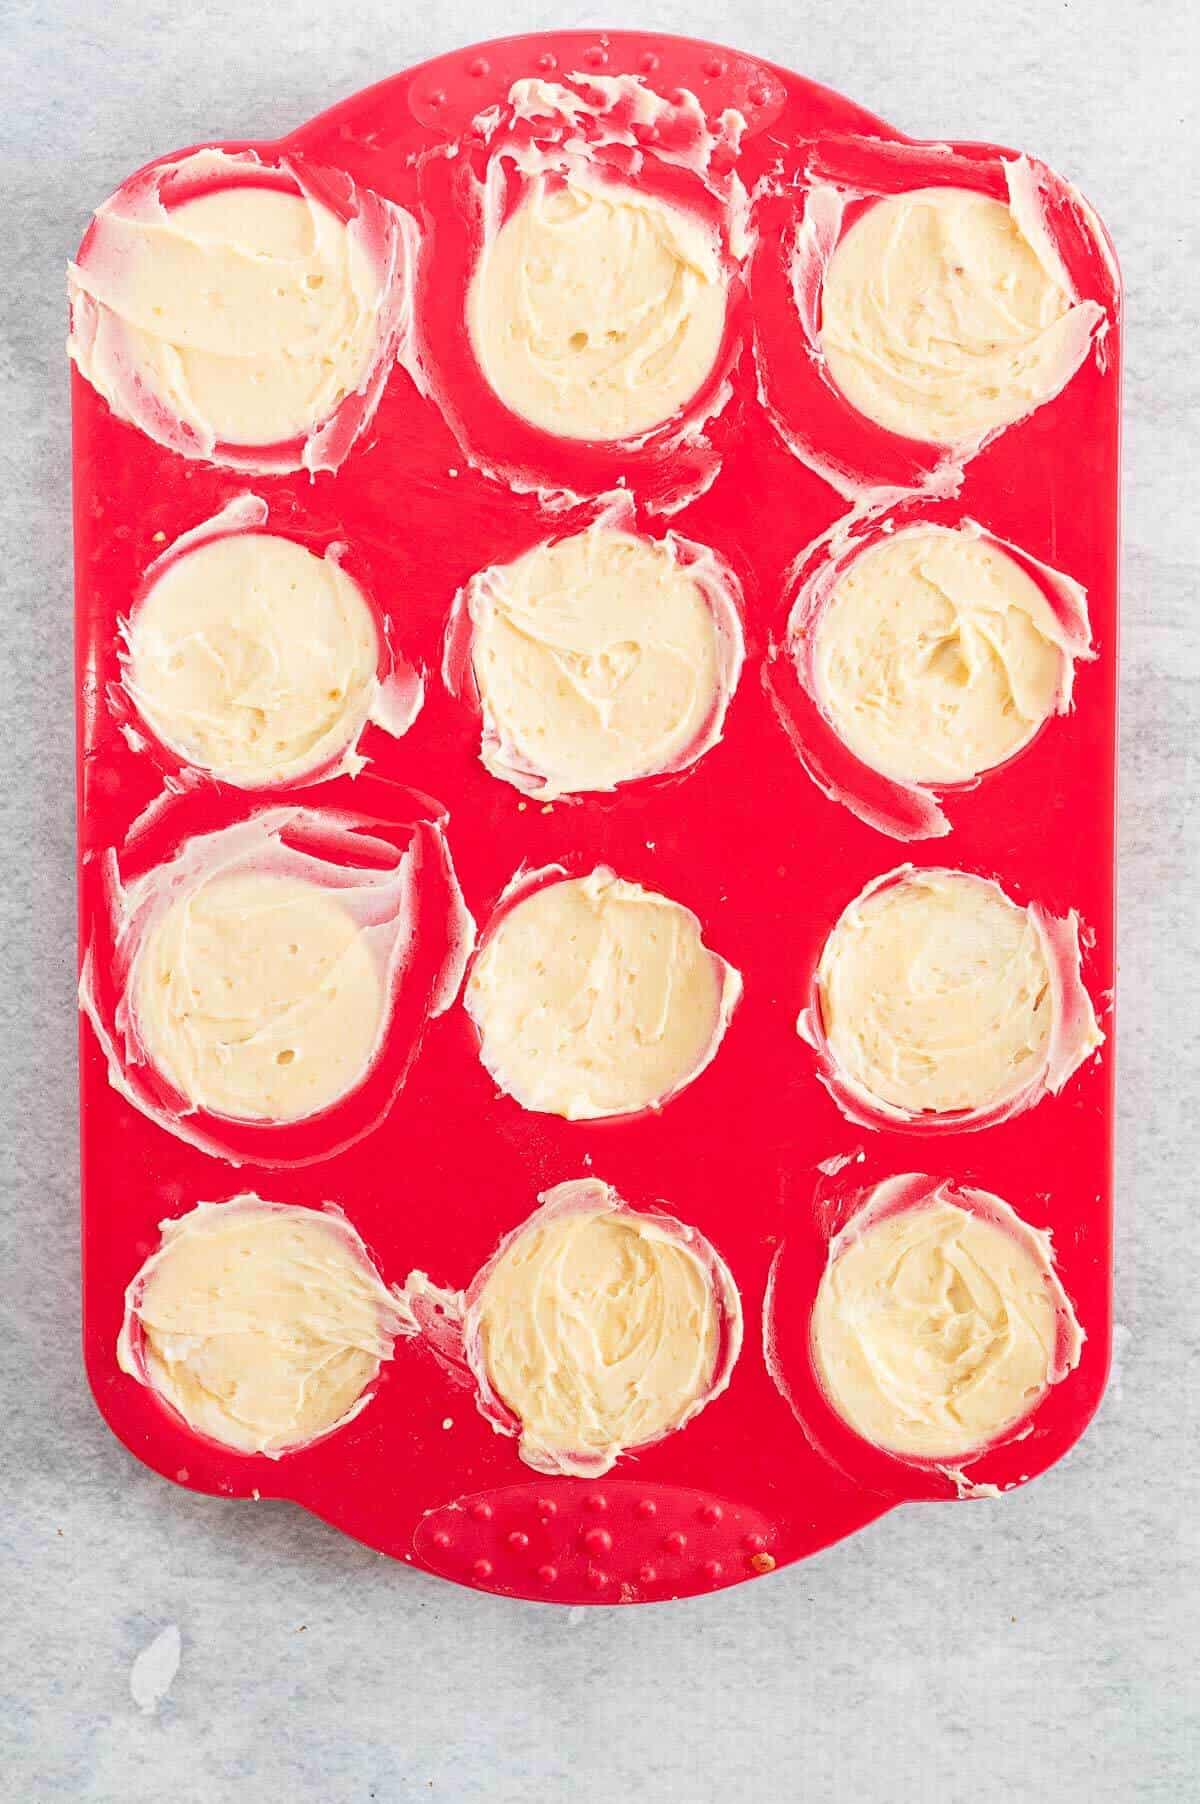
To make the cheesecakes, I used a 12 hole mini muffin tray (the silicone kind) which is great for making no bake desserts, especially bite sized ones. The silicone tray is easy to work with. You don't need paper liners and the cheesecakes are easy to get out once they have set in the fridge.
If you love mini desserts, check out these mini Mocha Cheesecake Bites, mini Lemon Cheesecake Bites that are perfect for after dinner cravings too!
To get a smooth top, its as easy as running the back of a knife across the muffin tray to wipe away excess cream cheese filling.
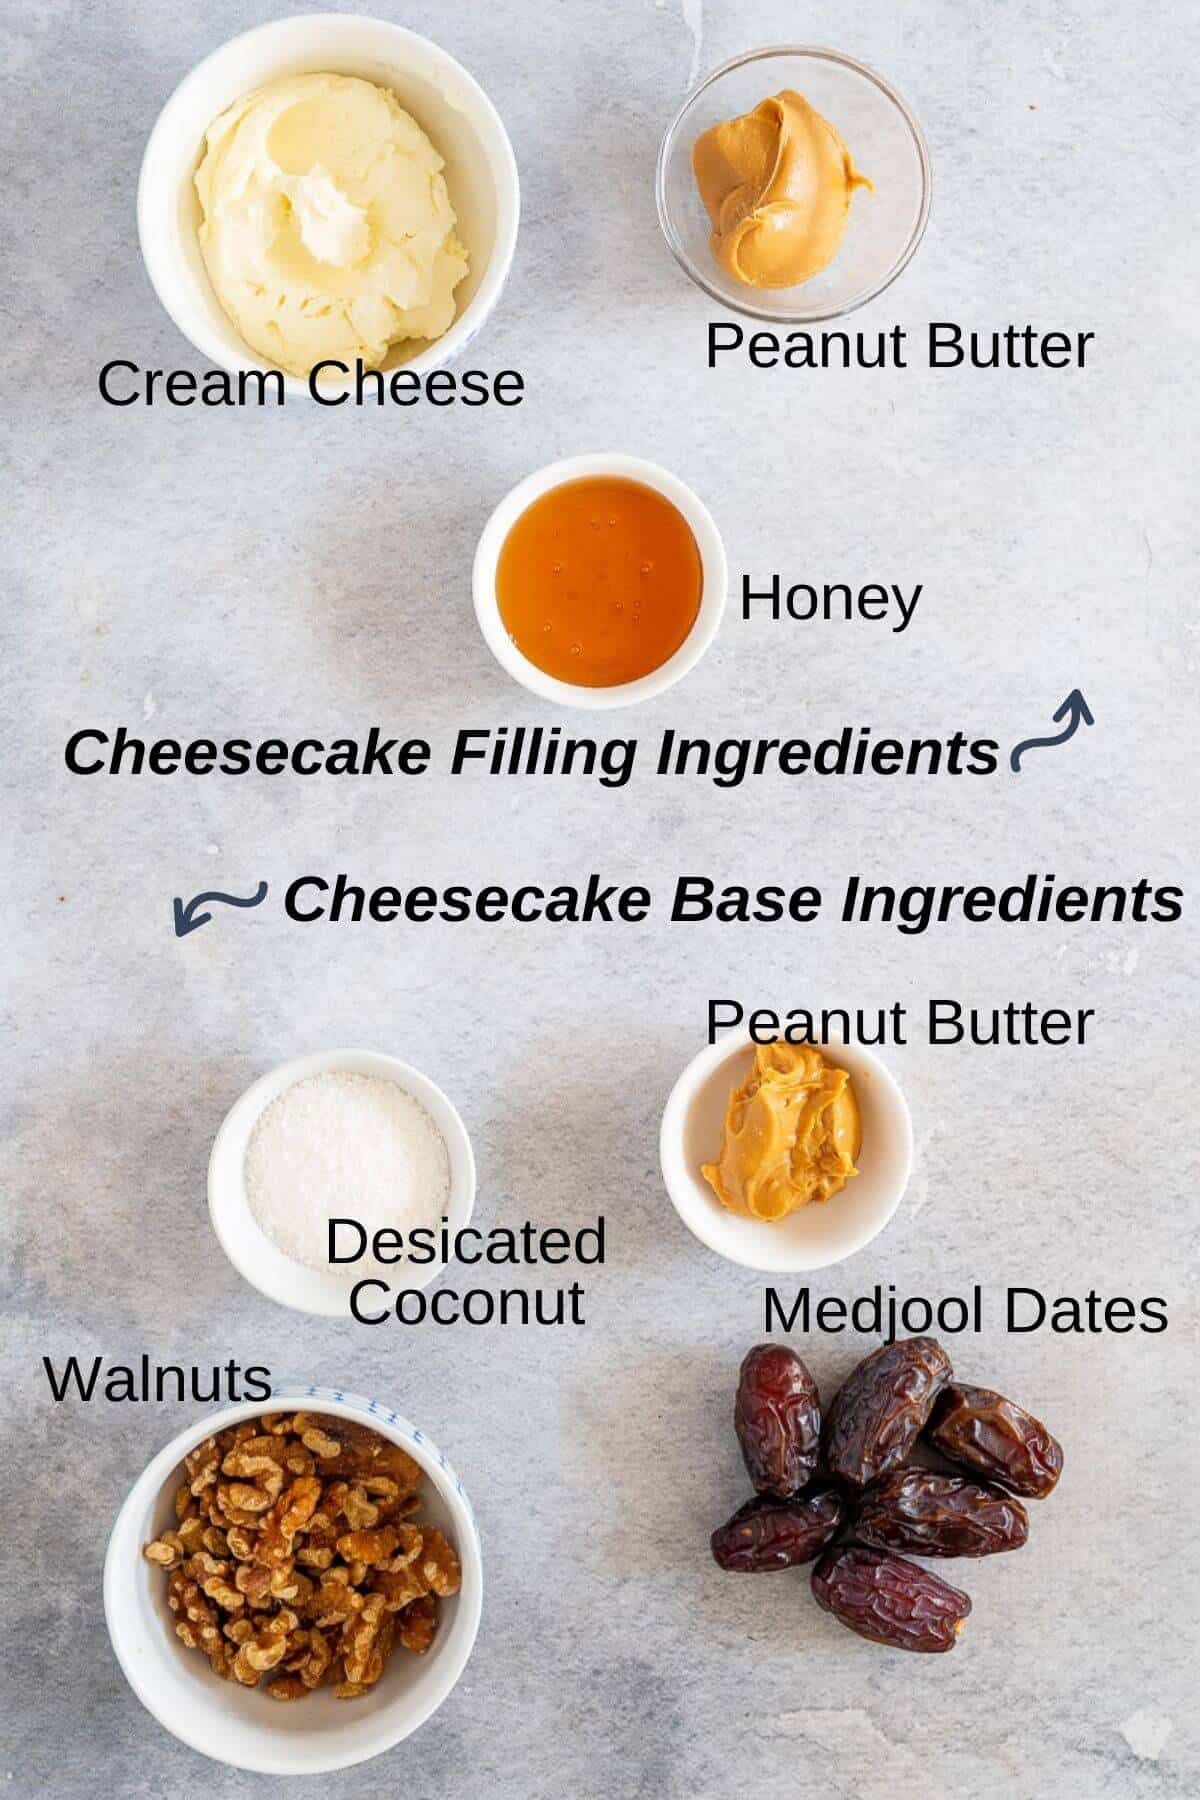
Ingredients
Ingredients Notes
- Medjool Dates: the soft, juicy and almost caramel like texture of the medjool dates are perfect for making cheesecake bases. Make sure to remove the seeds from the dates before putting them into the food processor, or alternatively you can buy dates that have already been putted.
- Walnuts: Doesn't matter if you buy whole walnuts, or the ones that are already crumbled. You can substitute walnuts for pecans also.
- Peanut Butter: Use a good quality natural or sugar free peanut butter at room temperature. I prefer to use smooth peanut butter but you could certainly use a crunchy peanut butter also for extra texture in the filling. The peanut butter adds to the creaminess of the cream cheese and gives it an extra richness.
- Honey: this is how the cheesecake is sweetened. Peanut butter and honey work together beautifully and the honey is subtle and understated in this recipe as the hero flavour is definitely the peanut butter.
- Cream Cheese: I left my cream cheese out on the kitchen counter for a couple of hours to come to room temperature before making the filling so that it was pliable enough to work with, without having to use a food processor. I don't recommend microwaving cream cheese to soften it and this will affect the overall consistency. Letting it soften naturally at room temperature yields the best results.
- Sugar Free Dark Chocolate: I tend to use a sugar free chocolate bar melted in the microwave for 30 to 50 seconds. If you can't find sugar free chocolate, you can use 70% or 80% dark Chocolate
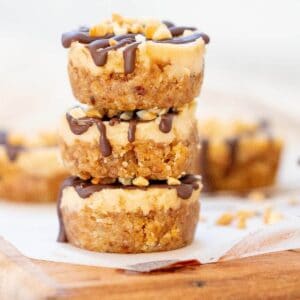
- Granulated Peanuts: this is for decoration on top and you really don't need many. Make sure to not use salted peanuts as this will take the sweetness away and will make them too salty. If you can't find granulated peanuts in the shop, buying unsalted peanuts and chopping them up will also work, or you can add a little crumbled walnut instead.
How To Make
There are three parts to the recipe: making the base, making the filling and then the decoration.
Make the base first
- Blitz Ingredients: Add all the ingredients for base to a food processor and blitz together until mixture resembles a crumb (about a minute or so). When it clumps together in your fingers easily it is ready.

- Fill muffin holes with base: Use damp fingers to firmly press crumbs into base of a silicone 12 hole muffin tray so that base goes half way up and there is half left for the filling to go in.
Filling
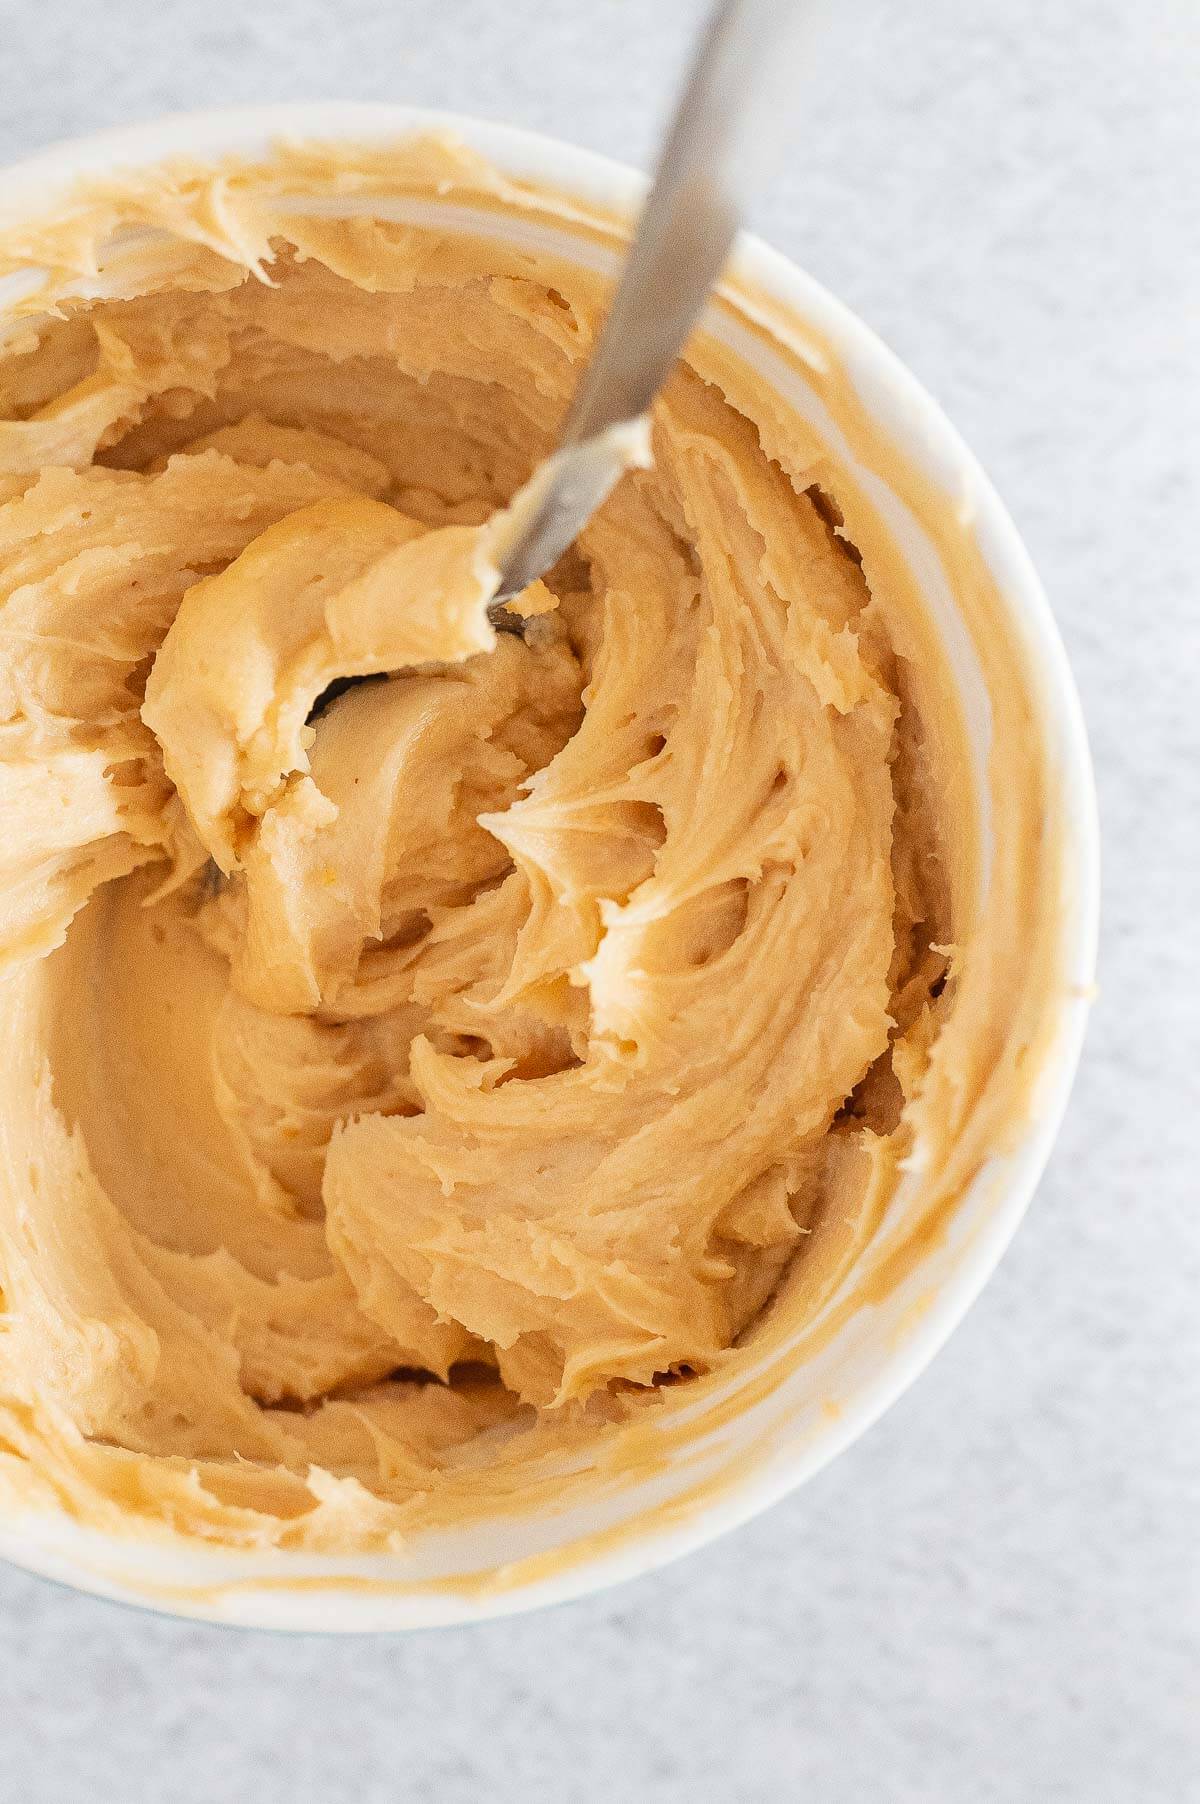
- Blend ingredients: Add softened cream cheese, peanut butter and honey to a mixing bowl and use a spoon to mix together, ensuring there are no white or tan streaks
- Filling casings: Use a small spoon to add filling onto base, pressing in with back of a spoon to make sure there are no air bubbles. Smooth off the tops with the back of a knife.
- Set in Fridge: Cover with foil and let them set in the fridge overnight for 6 to 8 hours
Decoration
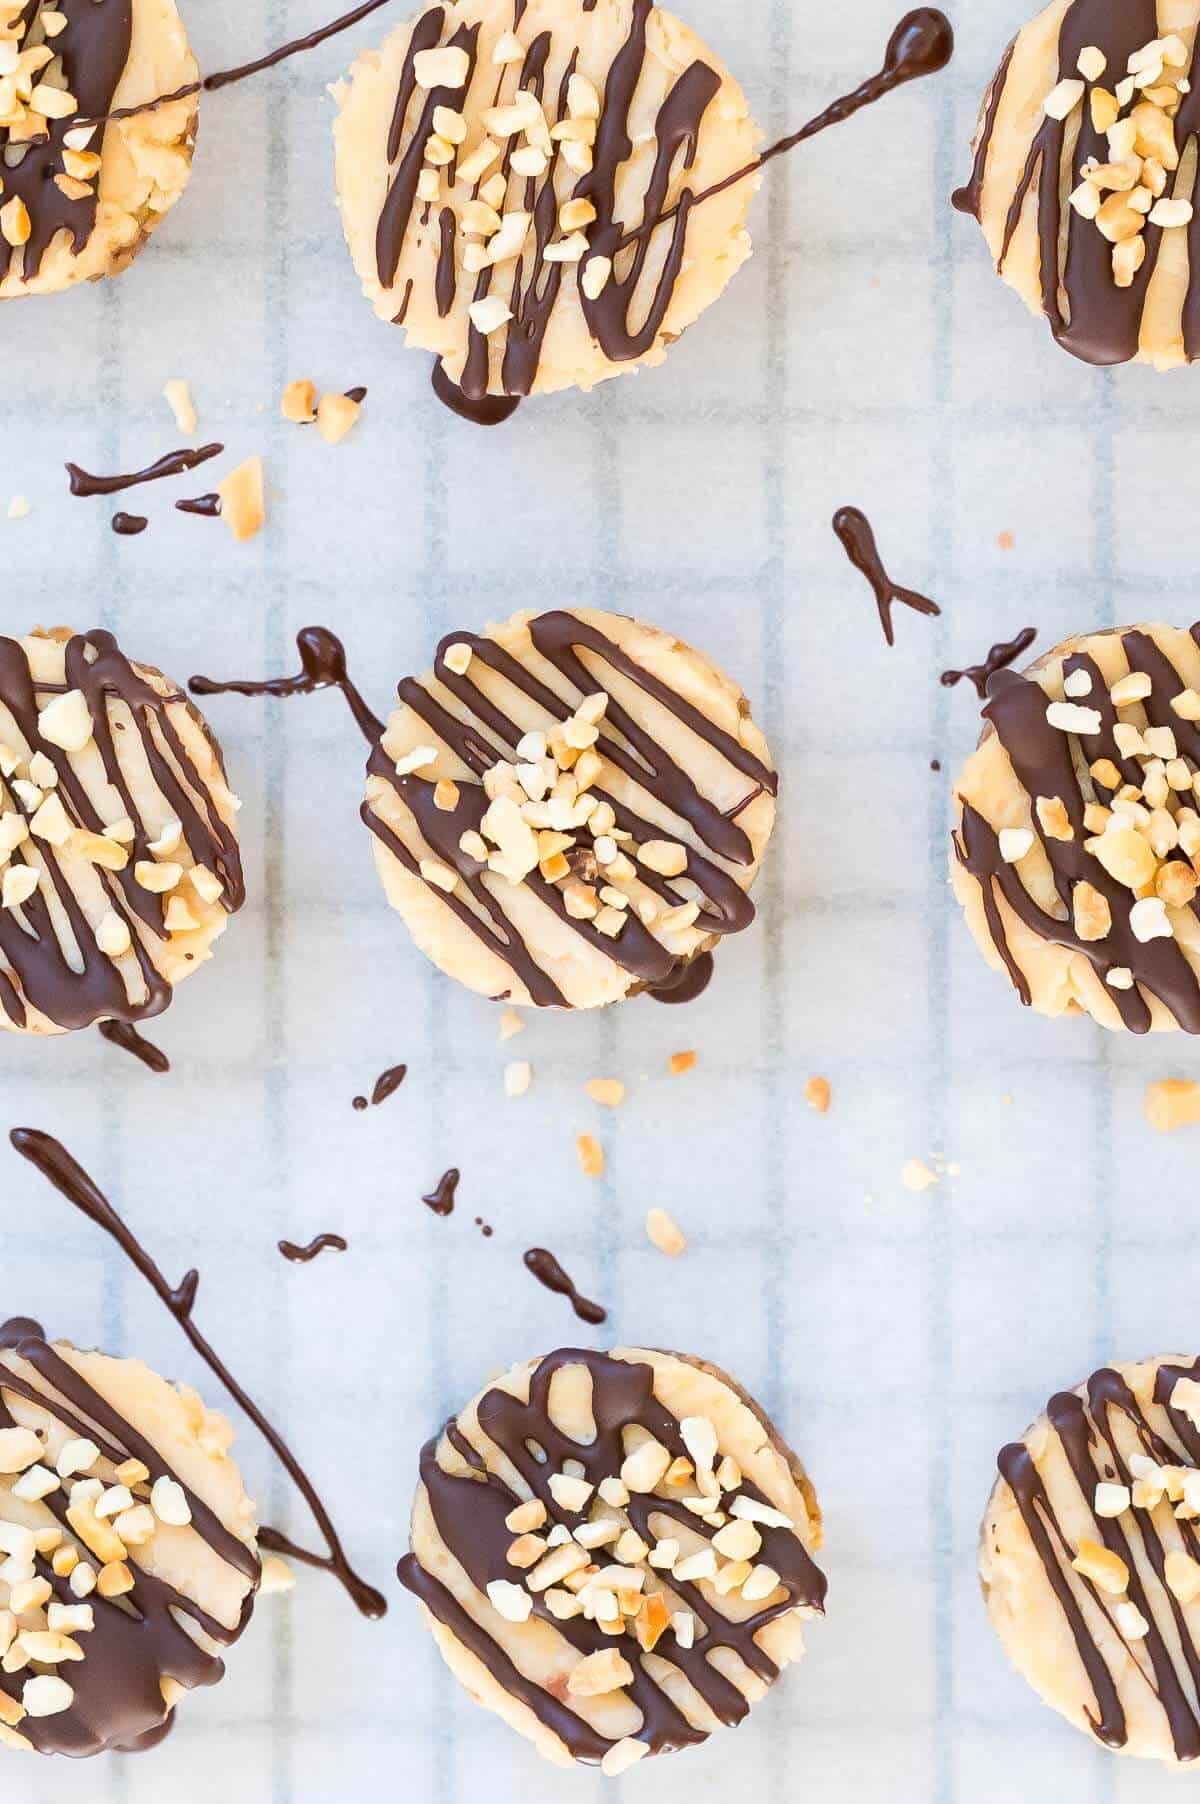
- Melt chocolate: Melt chocolate in a microwave safe bowl until only just melted (no boiling or overly hot)
- Drizzle: Use a teaspoon held at about 30 cm/1 foot height to drizzle chocolate lines in a zig zag pattern back and forth. Add a few granulated peanuts on top before chocolate sets.
Tips:
- Cream Cheese: If your cream cheese is verry soft and pliable you won't need a food processor to mix the ingredients together (I didn't use the food processor to make this filling as my cream cheese was at room temp)
- Chocolate: Using milk chocolate is not as tasty as using dark chocolate as you need the richness of bark chocolate to cut through the creamy sweetness of the cheesecake filling
- Honey: Instead of honey you could use the same amount of Maple Syrup or even a powdered sweetener. Swapping honey for either of these will alter the flavour though.
- No Silicone Muffion Molds? Use mini patty papers instead, however you may need to double or triple them so they are strong enough to hold everything in
- A trick to getting the cheesecakes out: cut strips of baking paper/parchment paper and put one in each muffin casing before pressing in the base. Paper should hang out the top so the you can easily pull the strips to lift the cheesecake out (after running around the edges with a knife to loosen)
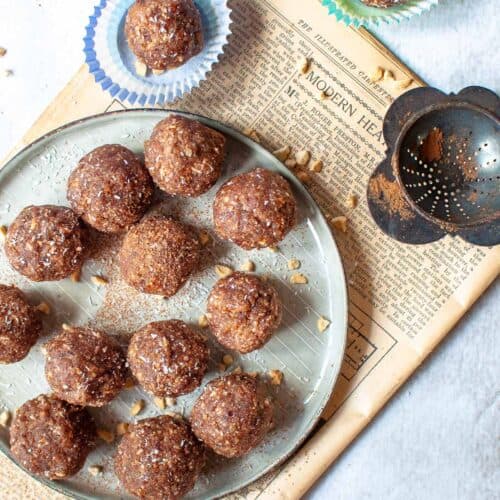
- Leftover base Mixture? If there is any mixture left over from the base that doesn't fit into the muffin holes, roll it into yummy snack balls.
Common Questions
Yes! This is a perfect cheesecake recipe to use low fat cream cheese with because the peanut butter provides extra fat to create a rich and creamy cheesecake bite.
Definitely! I do this all the time to keep the calories low in my dessert recipes. It may not have the same richness had you used a regular peanut butter, but the flavour and creaminess will still be on point. Plus you'll know that its lower in fat! And that's priceless!

Making healthy desserts and even desserts that a re bite sized to help with portion control is not difficult once you know how. It's useful to have a food processor if you're making these regularly and you can also make bliss balls and no bake slices if you have one. Perfect for making sugar free snacks.
But if you don't have a food processor, you could try my lemon cheesecake balls recipe. It makes 12 balls, and is just 6 ingredients.
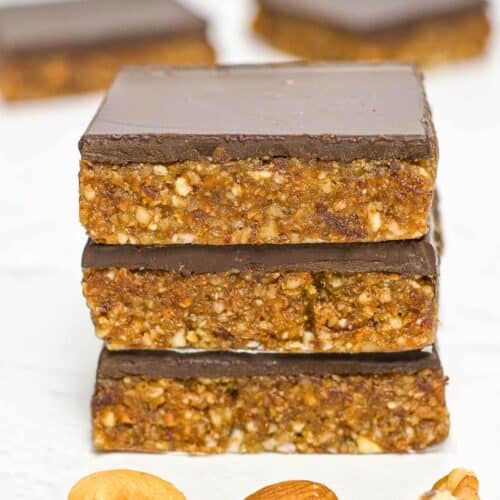
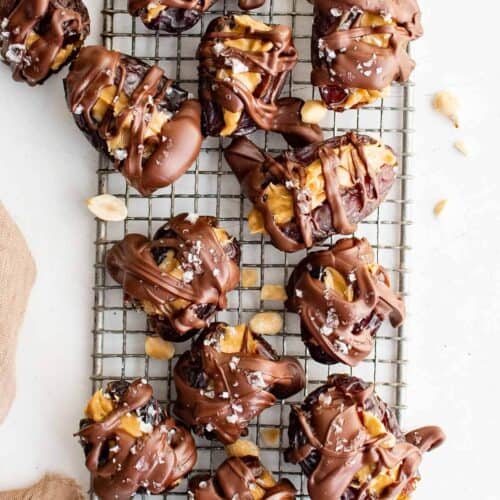
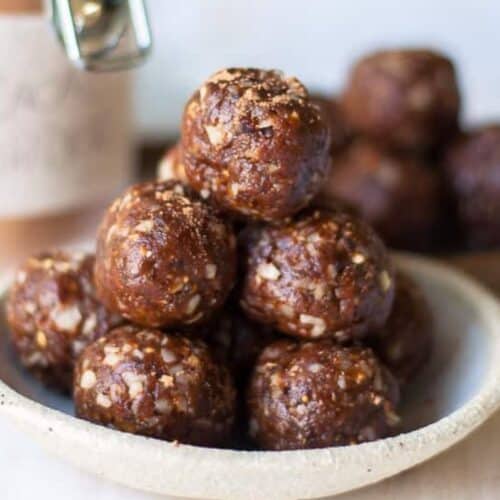
More Healthy Desserts

Mini Peanut Butter Cheesecakes
Ingredients
Base
- 6 Medjool Dates - Pitted (Room Temperature)
- ½ cup Chopped Walnuts
- 1 tablespoon Peanut Butter
- 1 tablespoon Desicated Coconut
Filling
- ½ cup Cream cheese
- 2 tablespoons Natural Peanut Butter
- 2 tablespoons Honey
Toppings
- 3 tablespoons Sugar Free Dark Chocolate - Melted
- 2 tablespoons Granulated Peanuts
Instructions
Base
- Add ingredients for base to a food processor and blitz together until mixture resembles a crumb (about a minute or so). When it clumps together in your fingers easily it is ready.
- Remove blade from food processor and use a teaspoon to fill each hole in a 12 hole mini silicone muffin tray. Use damp fingers to firmly press crumbs into base of mold. Add additional crumbs, pressing down into mold so that base is approx. half the mold and there is half left for the filling
- If there is any mixture left over from the base that doesn't fit into the molds, roll it into yummy snack balls.
Filling
- If your cream cheese is verry soft and pliable you won't need a food processor to mix the ingredients together (I didn't use the food processor to make this filling as my cream cheese was at room temp)
- Add softened cream cheese, peanut butter and honey to a mixing bowl and use a spoon to mix together
- Use a small spoon to add filling onto base, pressing in with back of a spoon to make sure there are no air bubbles. Smooth off the tops with the back of a knife.
- Cover with foil and let them set in the fridge overnight for for 6 to 8 hours
Removing from Molds
- Use a butter knife to go around the edge of the mold of each cheesecake to loosen, cleaning the knife in between each one. Then gently use knife to lift each cheesecake out onto a plate for decorating
Decorating
- Don't attempt to add the toppings until the cheesecakes have set properly otherwise the filling will still be too soft.
- Melt chocolate in a microwave safe bowl until only just melted (no boiling or overly hot)
- Use a teaspoon held at about 30 cm/1 foot height to drizzle chocolate lines in a zig zag pattern back and forth, then add a few granulated peanuts on top before chocolate sets.
Storage
- Store cheesecakes flat in a single layer in an air tight container for upto 5 days in the fridge
Notes
- Medjool Dates: the soft, juicy and almost caramel like texture of the medjool dates are perfect for making cheesecake bases. Make sure to remove the seeds from the dates before putting them into the food processor, or alternatively you can buy dates that have already been putted.
- Walnuts: Doesn't matter if you buy whole walnuts, or the ones that are already crumbled. You can substitute walnuts for pecans also.
- Peanut Butter: Use a good quality natural or sugar free peanut butter at room temperature. I prefer to use smooth peanut butter but you could certainly use a crunchy peanut butter also for extra texture in the filling. The peanut butter adds to the creaminess of the cream cheese and gives it an extra richness.
- Honey: this is how the cheesecake is sweetened. Peanut butter and honey work together beautifully and the honey is subtle and understated in this recipe as the hero flavour is definitely the peanut butter.
- Cream Cheese: I left my cream cheese out on the kitchen counter for a couple of hours to come to room temperature before making the filling so that it was pliable enough to work with, without having to use a food processor. I don't recommend microwaving cream cheese to soften it and this will affect the overall consistency. Letting it soften naturally at room temperature yields the best results.
- Sugar Free Dark Chocolate: I tend to use a sugar free chocolate bar melted in the microwave for 30 to 50 seconds. If you can't find sugar free chocolate, you can use 70% or 80% dark Chocolate
- Granulated Peanuts: this is for decoration on top and you really don't need many. Make sure to not use salted peanuts as this will take the sweetness away and will make them too salty. If you can't find granulated peanuts in the shop, buying unsalted peanuts and chopping them up will also work, or you can add a little crumbled walnut instead.
Nutrition
Note: Sugars contained in this recipe are from naturally occurring sugars in fruits, vegetables or other natural sweeteners. Calories have been calculated for your convenience using My Fitness Pal and are based on the ingredients listed in the recipe card.
Debbie says
Yum! I just made this but sub almond butter for peanut butter and I didn't have walnuts so I used organic wheat cereal squares.
I couldn't wait so I melted the oatmilk chocolate bar & drizzle on top.
I sample one the rest is in fridge. So yummy!!!!!
Thank you