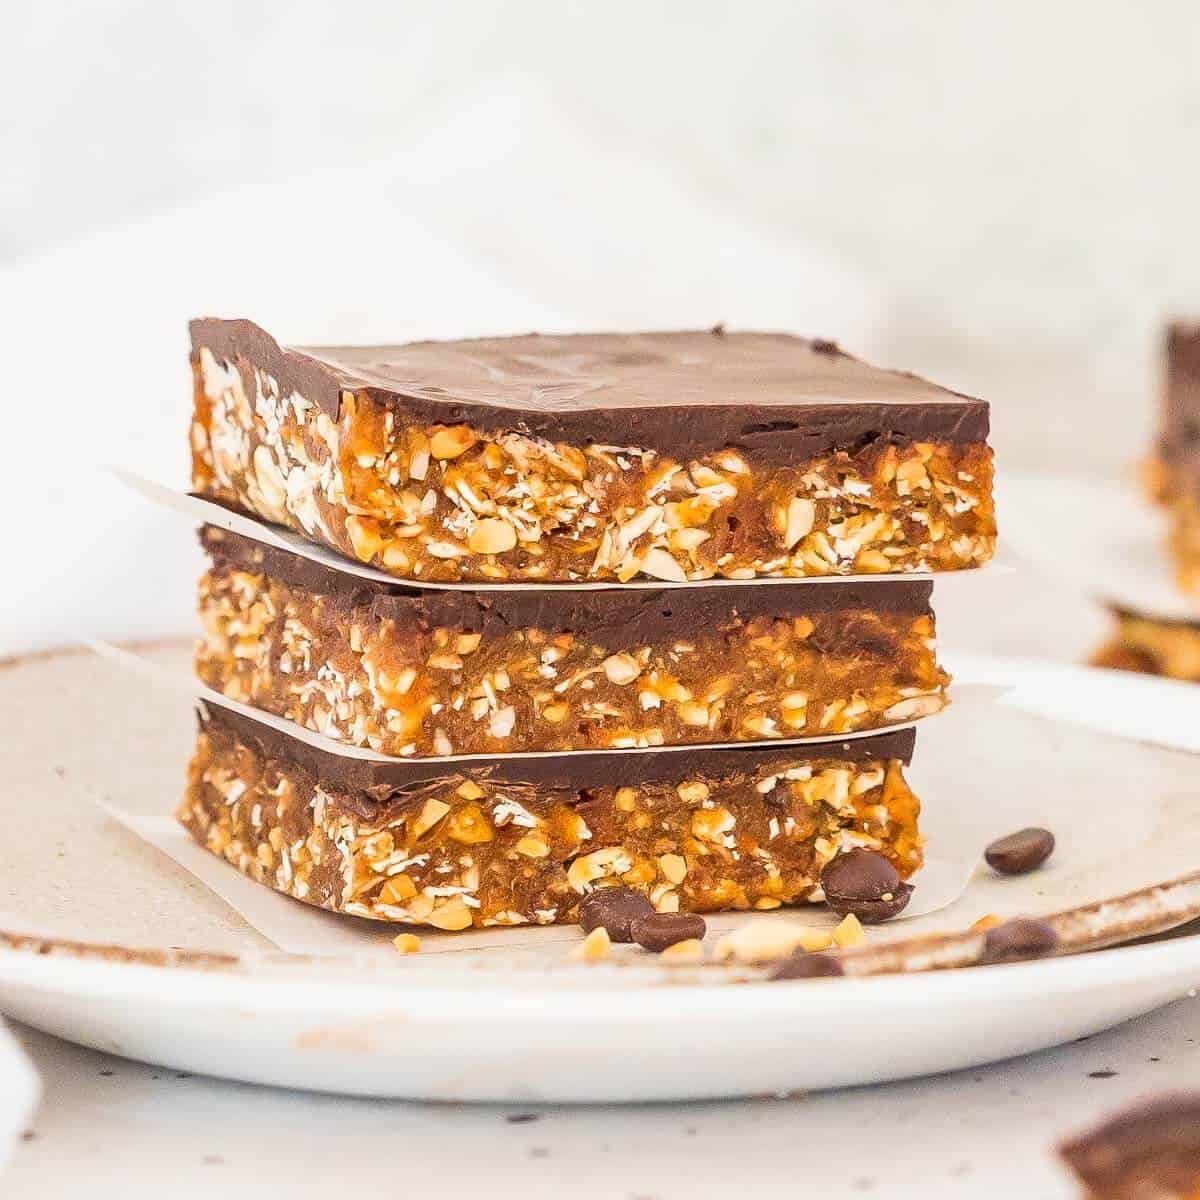
These No Bake Chocolate Peanut Butter Bars are made with just 6 ingredients in your food processor. It’s a quick and easy recipe that’s naturally sweetened without added sugars. These bars are perfect to have with your morning coffee, as lunchbox fillers, and to keep after dinner cravings at bay.
Save This Recipe
Enter your email below and I'll send this recipe link straight to your inbox so you'll always have it handy!
Recipe Highlights
- You can make these in under 20 minutes, no oven required
- Just 6 basic ingredients
- Its date sweetened, with no honey, and no maple syrup
- The recipe makes 16 generous sized bars
- They’re packed with oats so they’re super filling
- They keep in the fridge for a week
- They’re portable and travel well (great for taking to work)
- They’re chewy, chocolatey and you can taste the peanut butter!
I love the combination of chocolate and peanut butter and these bars are a healthier take on the many different versions out there. I wanted a chocolate and peanut butter bar that was sugar free, dead easy to make and had that deliciously moreish pull that makes you want to keep eating them, but without the processes sugars.
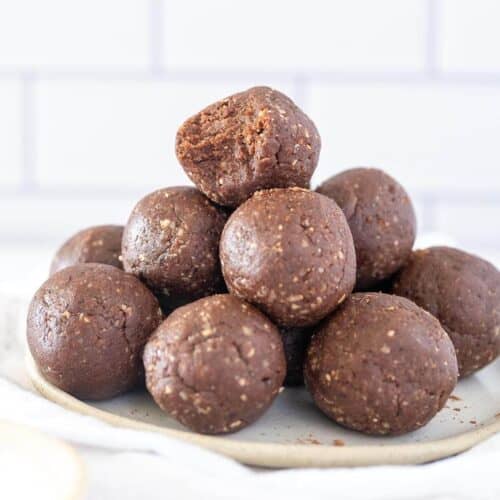
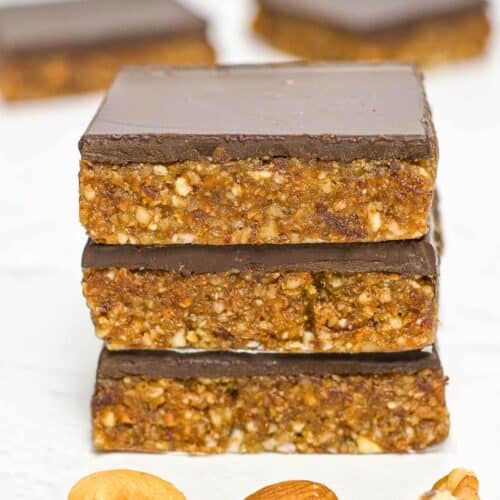
I’ve experimented a lot with chocolate and peanut butter with these Peanut Butter Choc Balls, this Raw caramel Slice (yes its one of my most popular recipes), and these Sugar Free Peanut Butter Chocolate Cups. Its pretty hard to go wrong with these two flavours, especially when you’re making no bake sweets.
Ingredients

Many similar recipes use some type of biscuit or graham cracker crumb in the base but I wanted to avoid that, so I used plain oats instead, like in these Chocolate Oat Granola Bars and these No Bake Chocolate Protein Bars. It worked a treat by providing the extra volume that the recipe needed and it adds extra fibre to this sweet treat. Extra fibre means it keeps you fuller for longer and helps to manage cravings. It also helps with stopping at one, or…. maybe two.
Ingredient Notes
- Dates: Ideally you want the dates to be at room temperature as this will be kinder to your food processor and more easily create a paste.
- Peanut Butter: I used a natural smooth peanut butter, however you could also use a crunchy peanut butter.
- Oats: Big oats work well for this recipe as they add a nice texture, however you could also use quick oats if that is that you have.
- Peanuts: Using granulated peanuts means the nuts are already chopped small which is mostly for convenience. You can also use whole peanuts, just make sure to buy the unsalted variety if you want your bars to be sweet.
- Chocolate: Melting chocolate bars works better than melting chocolate chips, and if you are unable to find sugar free dark chocolate bars, use 70 – 80% dark chocolate. Avoid using a milk chocolate as it will make the bars to sickly sweet. The bitterness of the darker chocolate offsets the sweetness.
If you're looking for a super simple grab and go recipe - try these 3 ingredient Chewy Peanut Butter Oatmeal Balls.
How To Make
- Blitz Dates and Peanut Butter together: Add dates, peanut butter and vanilla to a food processor. Blitz on high until it forms a clump and resembles a paste.

- Combine Oats and Peanuts: Add the oats and peanuts to a large bowl and mix together.
- Mix Base Ingredients together: Add date/peanut butter mixture to oats and peanuts. Use hands to mix together

- Arrange base into tin: Press mixture into a square baking tray lined with parchment or baking paper so bars are easy to get out. Smooth out he top with the back of a spoon.
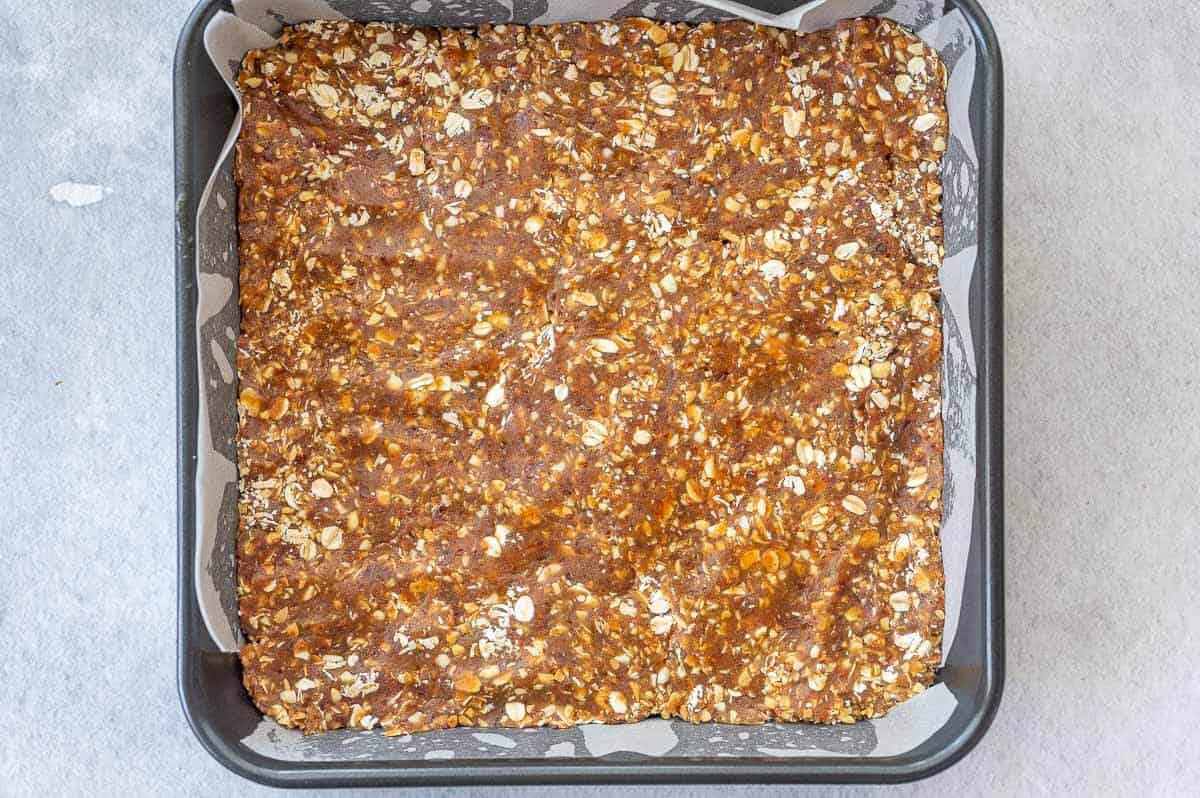
- Melt chocolate for top layer: Soften chocolate in microwave on high in 30 second bursts until only just melted (mine took 3 mins total – 6 x 30 secs, stirring in between)
- Pour chocolate on top: Put chocolate mixture onto bar mixture, smoothing over the top all the way to the corners with the back of a spoon.

- Refrigerate: Cover with plastic wrap and refrigerate for 2 – 3 hours
- Slice and Store: Slice into 16 bars with a sharp warm knife (dipping knife into hot water with each cut and wiping in between). Store in fridge.
Recipe Tips
- Tin Size: I made this recipe in a 9 inch square tin, but a large rectangle loaf tin would work as well if that is all you have.
- Lining the tin: this is important before you add the base as it will help to get the slice out once its had time to set in the fridge. Trying to get a slice out of a tine, with chocolate on top that’s set would be a bit of a challenge if you haven’t lined the tin with baking paper/parchment paper. Even foil would do the trick. Just make sure it comes up either side of the tin to grab onto for easy removal.
- Slicing: Using a sharp knife dipped in hot water works well, wiping it after each cut to get those clean lines.
- Storage: Store in an air tight container in the fridge for 1 week. I don’t recommend freezing.

Melting Chocolate
You can use with the microwave or stovetop to melt the chocolate. Regardless of which method you use, make sure to break up the chocolate into small pieces (as small as you can get with your hands so that it melts more evenly).
Melting Chocolate (Microwave): use a bowl and microwave on high power in 30 second bursts, stirring with a fork in between. Take it to the point of only “just melted” as the residual heat with melt the remaining chocolate as you let it sit for a minute.
Melting Chocolate (Stovetop): Place a heatproof bowl over a pot of water on medium heat. Place chocolate into bowl and stir continuously until just melted.

If you’re looking for a healthier version of chocolate peanut butter bars that are super easy to make, are sugar free and full of fibre, this is your recipe. You won’t be disappointed.
More No Bake Sweets
- Lemon Cheesecake Balls
- Easy Chocolate Slice
- Ginger Slice
- Chocolate Coconut Date Balls
- No Bake Chocolate Oat Bars with Almonds

No Bake Chocolate Peanut Butter Bars
Equipment
- Food Processor
Ingredients
- 24 Medjool Dates - Seeds removed
- ⅓ cup Natural or Sugar Free Peanut Butter
- 1 Cup Rolled Oats
- 2 teaspoons Vanilla Essence
- ½ cup Granulated peanuts - unsalted
- 1 cup 400 grams of Melted Dark or Sugar Free Chocolate
Instructions
- Add dates, peanut butter and vanilla to a food processor. Blitz on high until it forms a clump and resembles a paste.
- Add the oats and peanuts to a large bowl and mix together.
- Add date/peanut butter mixture to oats and peanuts. Use hands to mix together
- Press mixture into a square baking tray lined with parchment or baking paper so bars are easy to get out. Smooth out he top with the back of a spoon.
- Melt chocolate in microwave on high in 30 second bursts (mine took 3 mins total, stirring in between)
- Pout chocolate mixture onto bar mixture, smoothing over the top all the way to the corners with the back of a spoon.
- Cover with plastic wrap and refrigerate for 2 – 3 hours
- Slice into 16 bars with a sharp warm knife (dipping knife into hot water with each cut and wiping in between)
Notes
- Dates: Ideally you want the dates to be at room temperature as this will be kinder to your food processor and more easily create a paste.
- Peanut Butter: I used a natural smooth peanut butter, however you could also use a crunchy peanut butter.
- Oats: Big oats work well for this recipe as they add a nice texture, however you could also use quick oats if that is hat you have.
- Peanuts: Using granulated peanuts means the nuts are already chopped small which is mostly for convenience. You can also use whole peanuts, just make sure to buy the unsalted variety if you want your bars to be sweet.
- Chocolate: Melting chocolate bars works better than melting chocolate chips, and if you are unable to find sugar free dark chocolate bars, use 70 – 80% dark chocolate. Avoid using a milk chocolate as it will make the bars to sickly sweet. The bitterness of the darker chocolate offsets the sweetness.
- Storage: Store in an air tight container for 5 days. Using baking paper/parchment paper to separate the layers if storing the bars on top of each other as it will help prevent sticking.
Nutrition
Note: Sugars contained in this recipe are from naturally occurring sugars in fruits, vegetables or other natural sweeteners. Calories have been calculated for your convenience using My Fitness Pal and are based on the ingredients listed in the recipe card.


Comments
No Comments