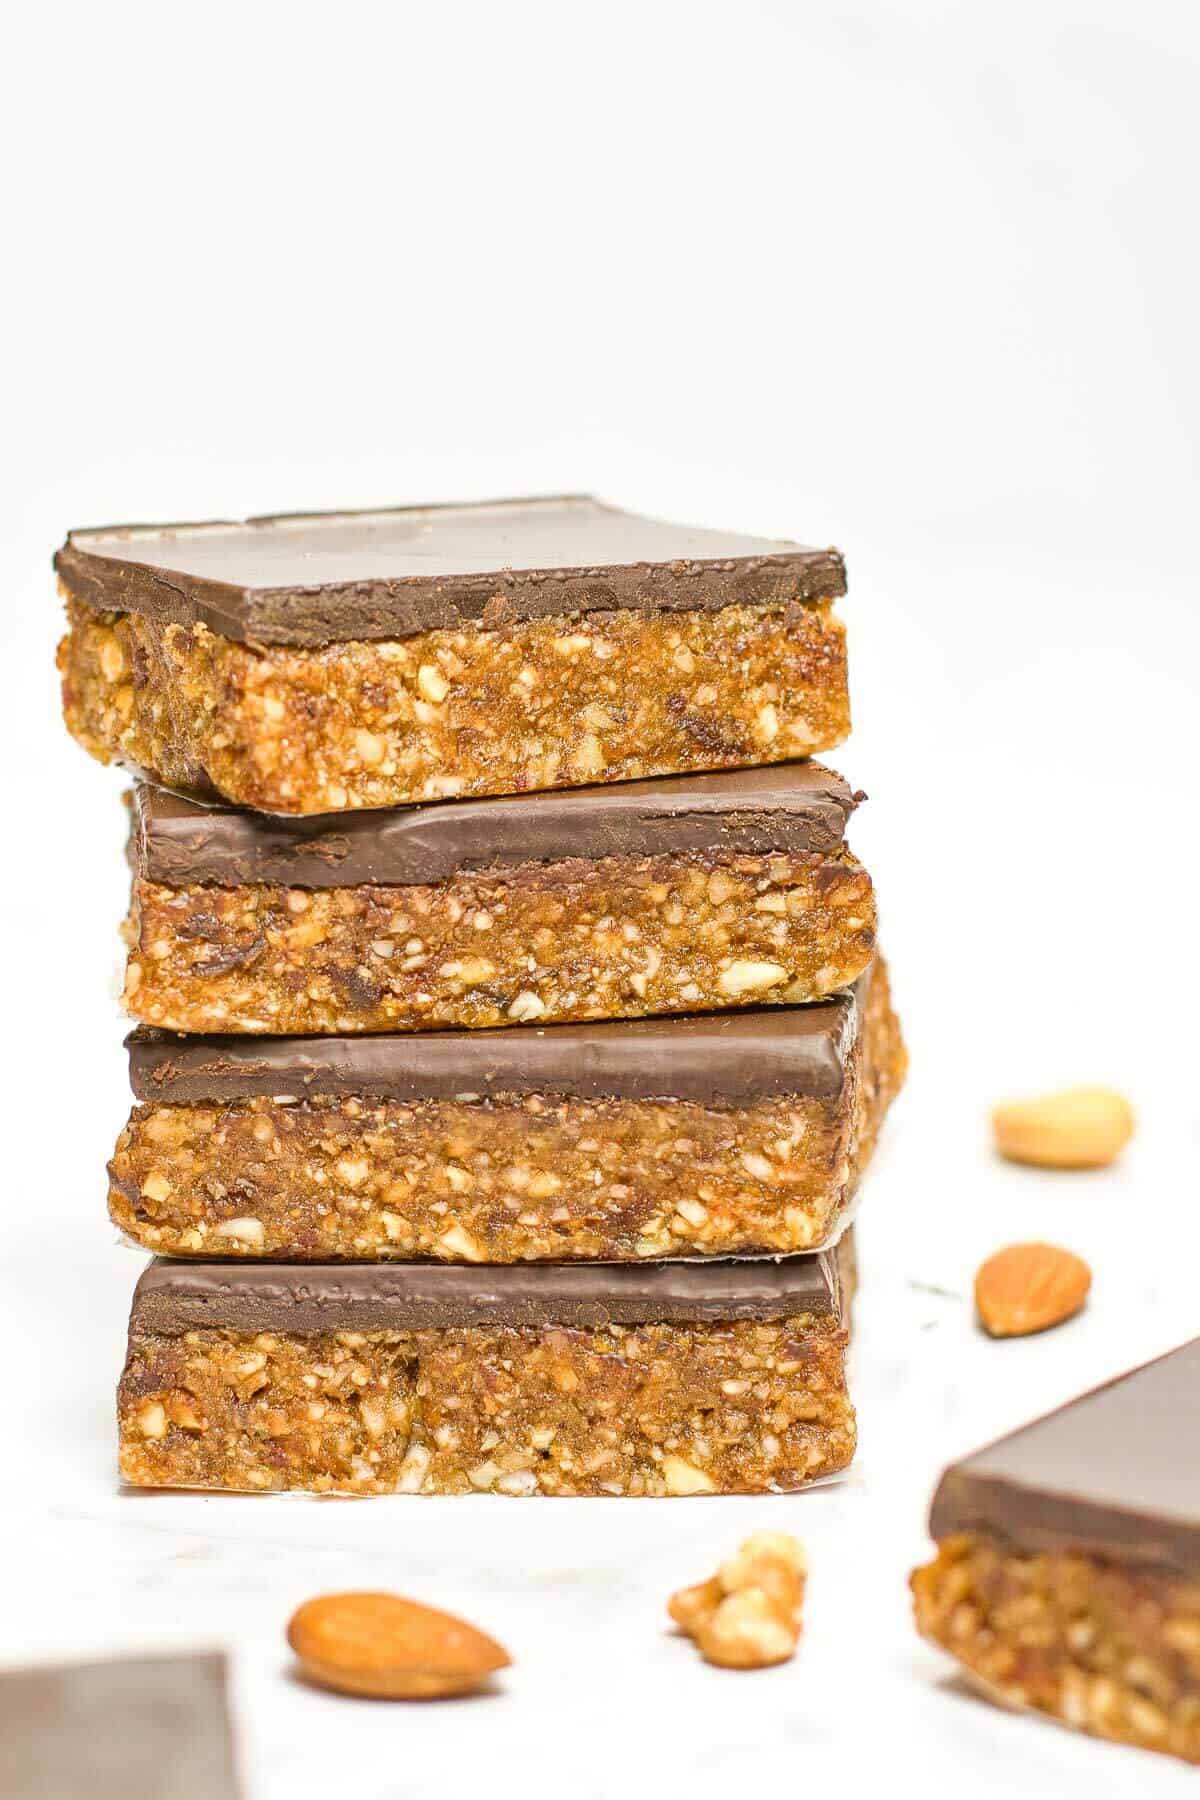
These easy no bake old fashioned homemade Date Nut Bars need just 4 ingredients, and you can make them in under 15 minutes. They’re sweet, chewy and nutty and chocolatey all in one and they have no added sugars. Perfect for morning snacks, after a workout, and to cure after dinner cravings.
Save This Recipe
Enter your email below and I'll send this recipe link straight to your inbox so you'll always have it handy!
Recipe Highlights
- A quick and simple date sweetened dessert or snack
- No Honey or Maple Syrup
- High in fibre and protein from the dates and nuts
- Will keep you fuller for longer
- Way better for you than store bought nut bars
- They keep in the fridge for a week
- Easy to customise with extra add in’s
- Makes 24 bars
- They no bake and perfect for making in summer when you don’t want to turn the oven on
- They’re the ultimate portable snack
Ingredients
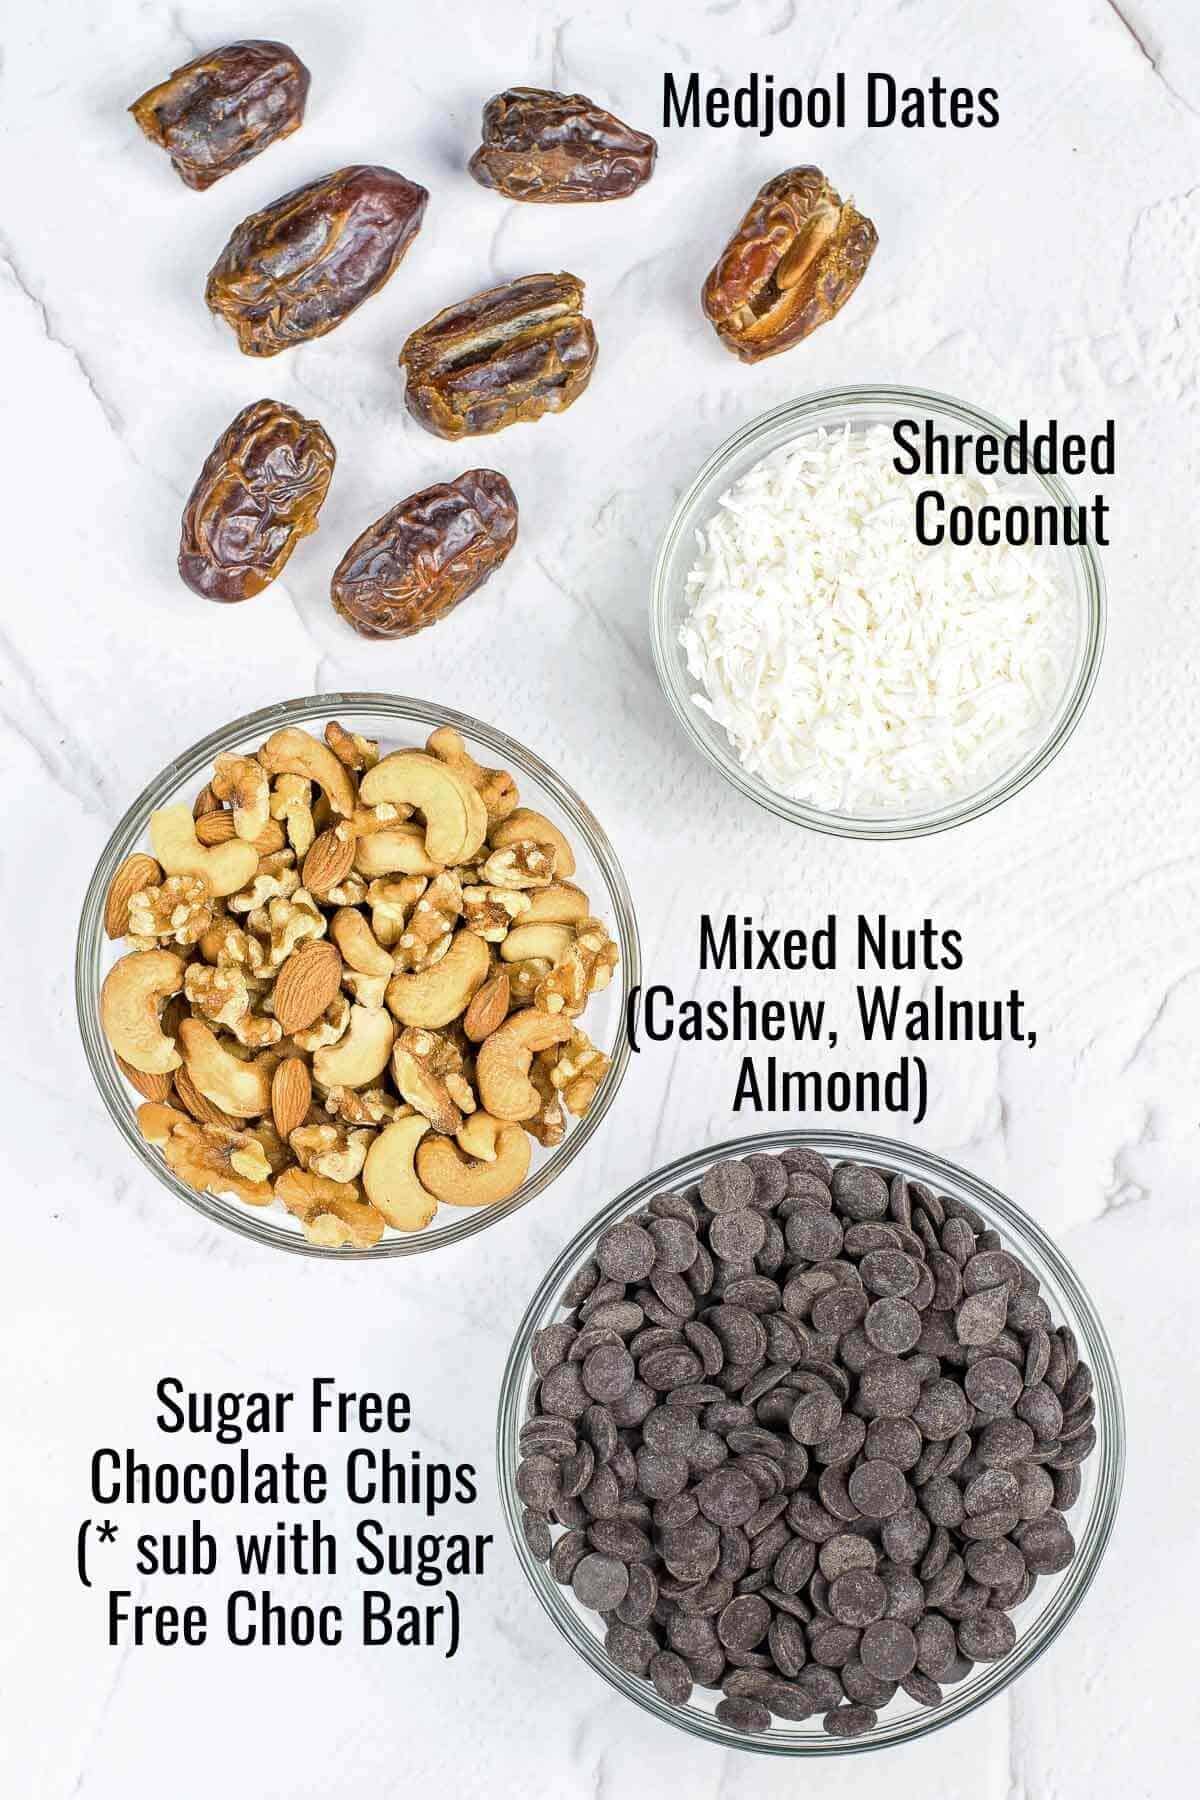
Date nut bars are a delicious and healthy snack made from dates, nuts, and coconut. The mixture is blitzed in a food processor and pressed into a pan, then no added sugar dark melted chocolate is poured over, covering the entire base. Then it’s chilled until firm and cut into bars. They're easy to make, require no baking, and can be customized to your liking.
Yes, you can even eat them for breakfast along with these No Bake Chocolate Oat Bars and Healthy Choc Chip Granola Oat Bars. Or maybe check out these decadent Chocolate Coconut Bars for a more of a healthy after dinner dessert.
Ingredient Notes
Dates: Fresh, soft dates are the best for this recipe as they are easier to mix with the other ingredients (medjool dates are my favorite). If your dates are dry and hard, soak them in warm water for about 10 minutes to soften them.
Mixed Nuts: You can use any combination of nuts that you like, such as almonds, walnuts, pecans, cashews, etc. Nuts add crunch and flavor to the bars.
Chocolate: Look for sugar free dark chocolate chips, buttons or a bar in the supermarket baking aisle. There are many brands that now offer sugar free options and some of my favorite are Natvia and Noshu. If you can’t find sugar free chocolate the next best thing is a high-quality dark chocolate with at least 70% cocoa content for the best flavor.
Coconut: Opt for desiccated or shredded coconut. The bugger the coconut pieces the more texture the bars would have. Desicated coconut does tend to disappear a little too much for my linking so I use shredded.
How to Make
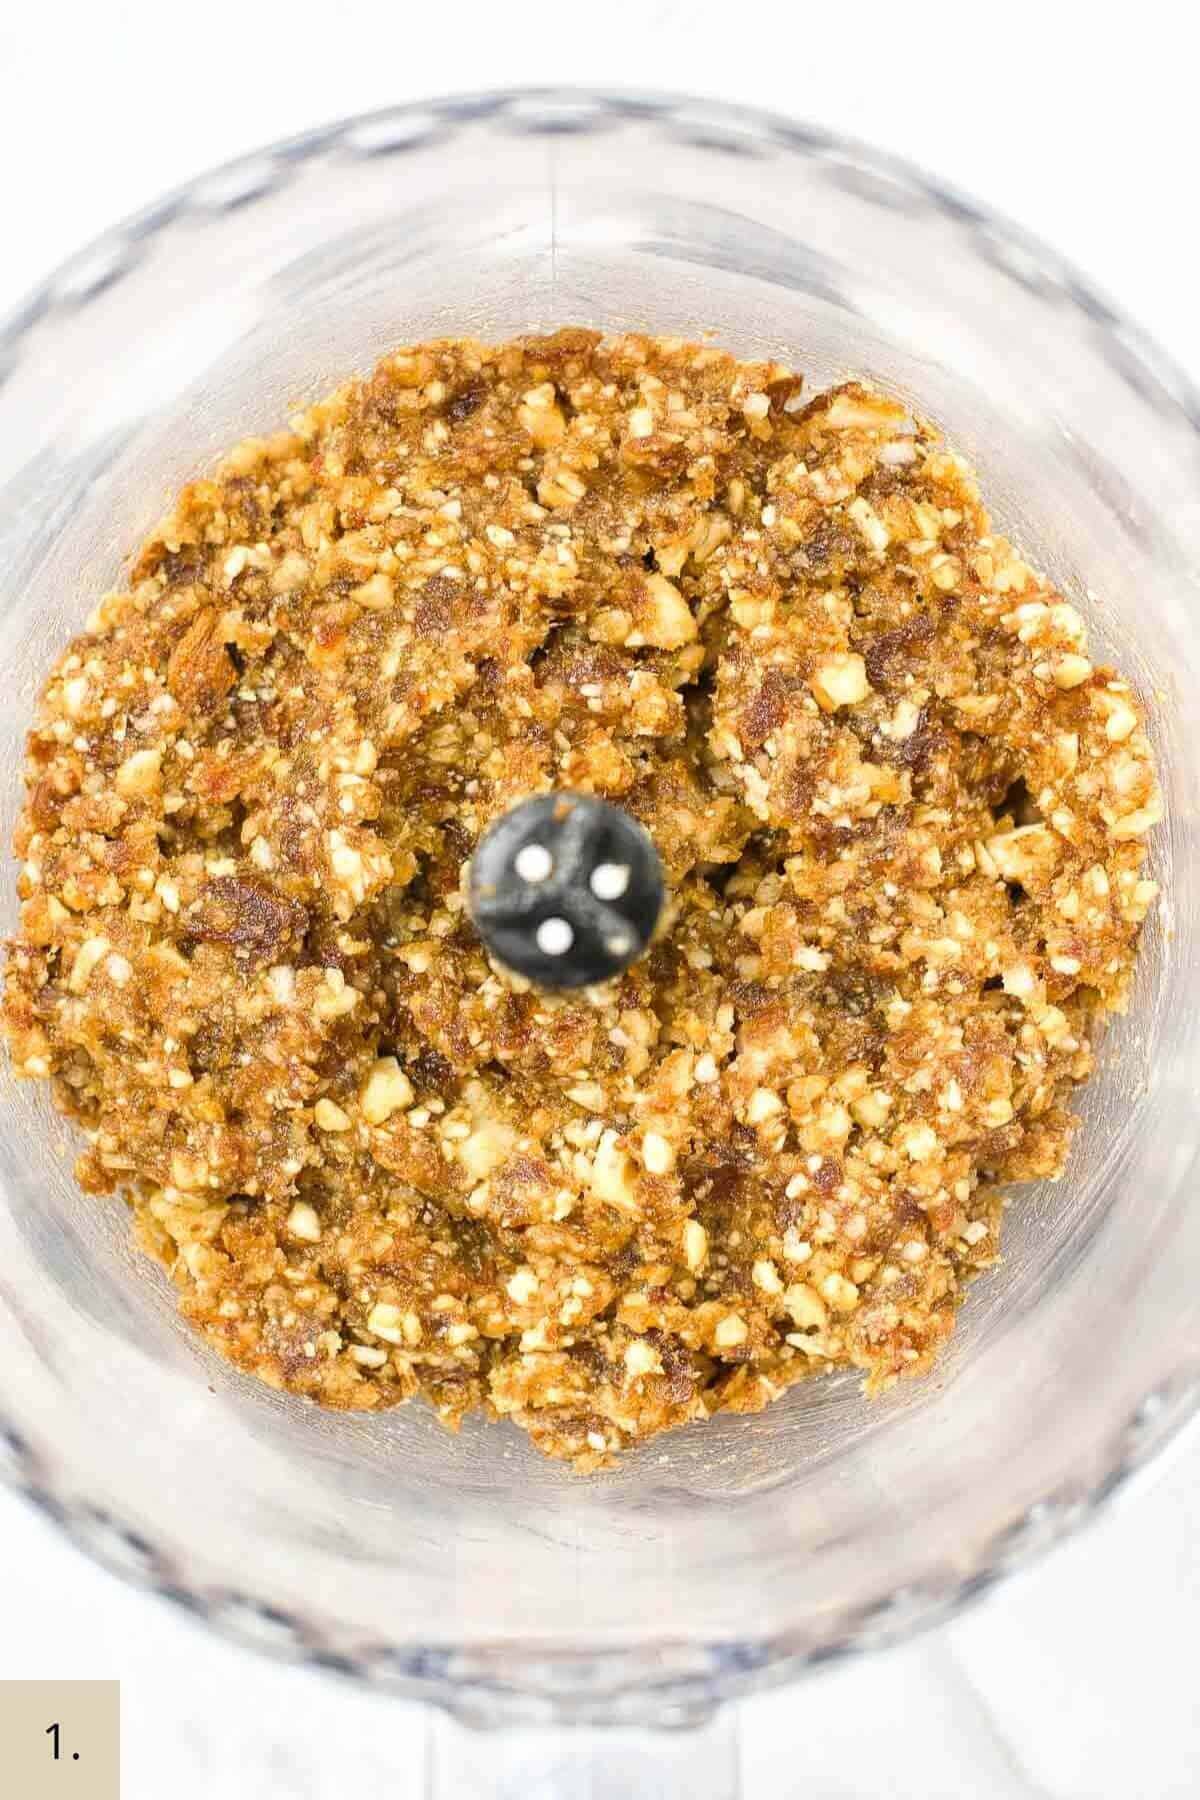
Make Base: Using a food processor, blend the pitted dates with the nuts and the shredded coconut until small pieces of nuts are visible and the mixture is sticky.
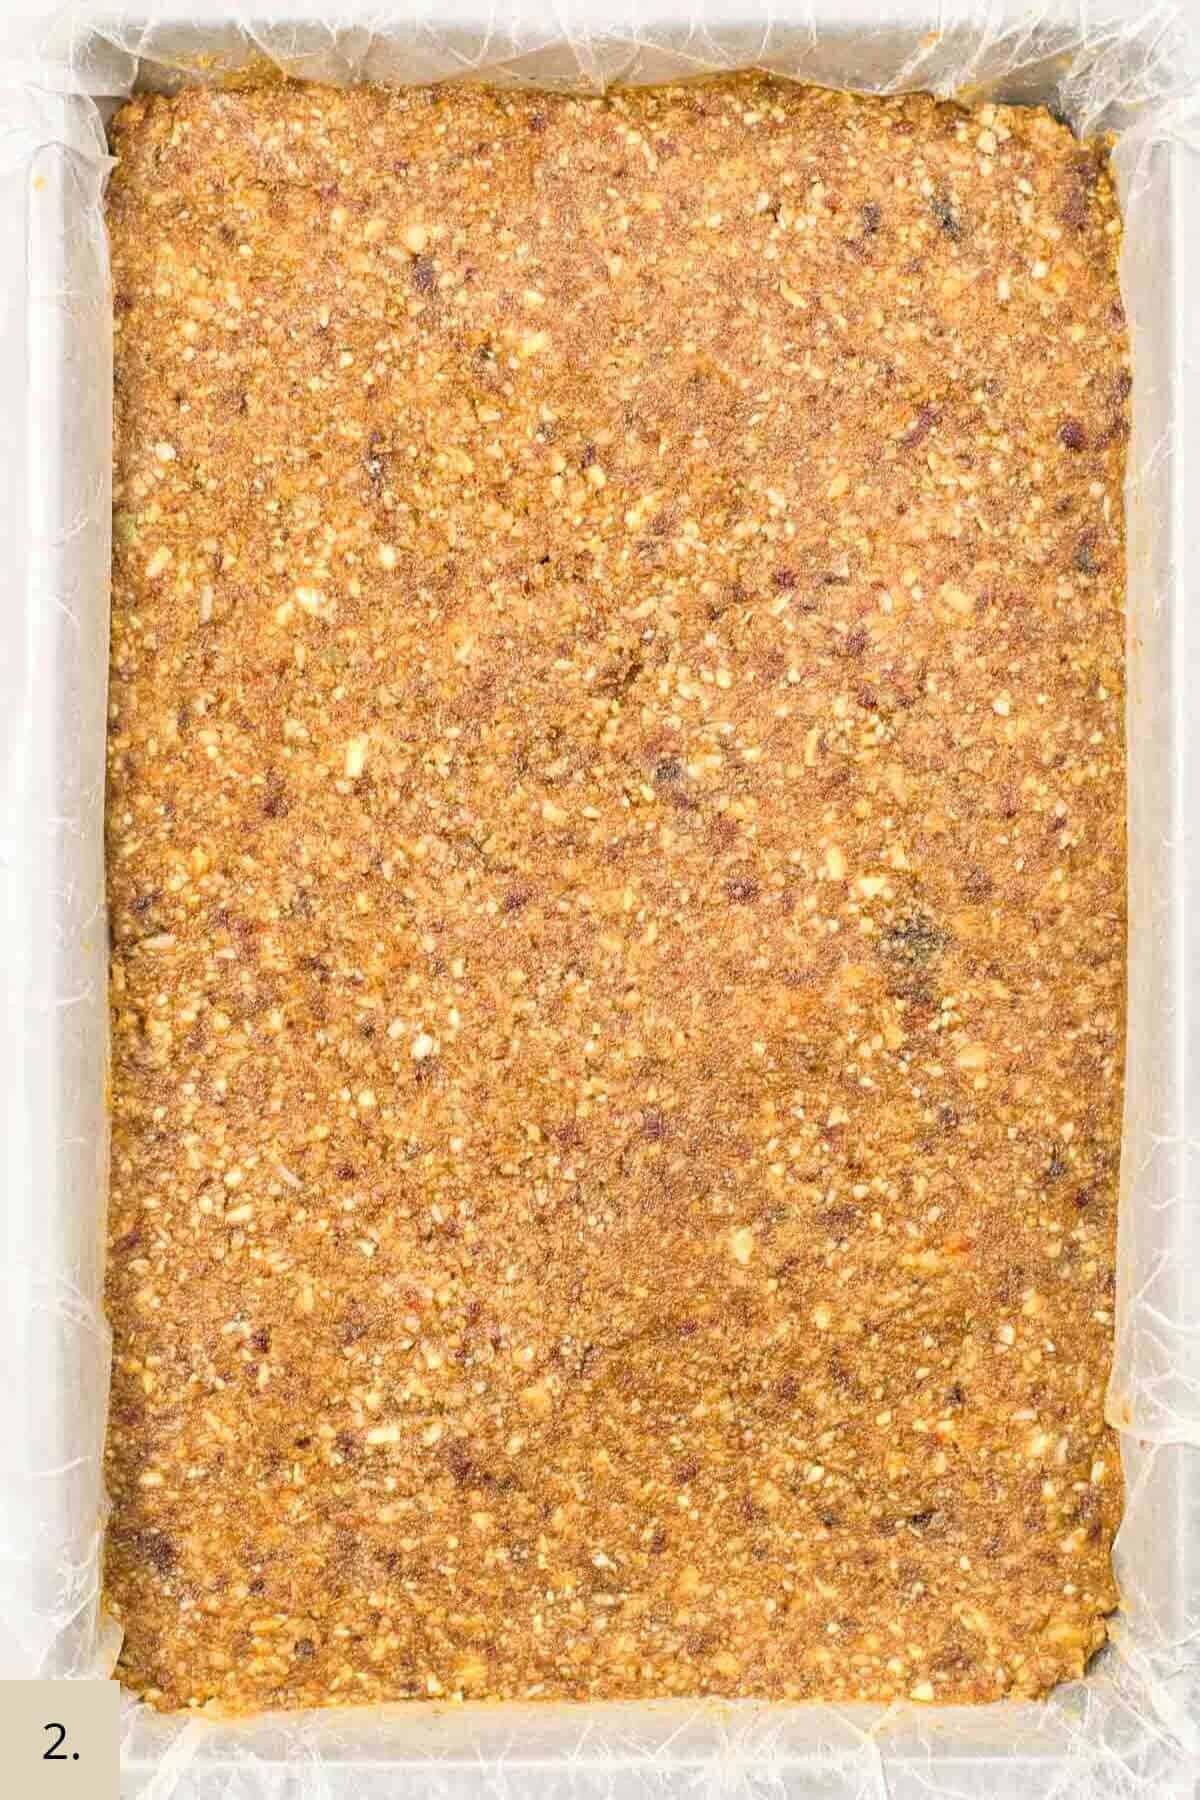
Transfer Base to Tin: Line a 7x11 loaf pan with parchment paper. Transfer the mixture to the prepared pan, using the base of a measuring cup or your hands to press evenly into all corners and flatten the surface.
Melt Chocolate: For a smooth and creamy texture, melt the chocolate in a glass bowl over a pot of water on low heat on the stovetop. Stir frequently to avoid burning and to ensure the chocolate is fully melted.
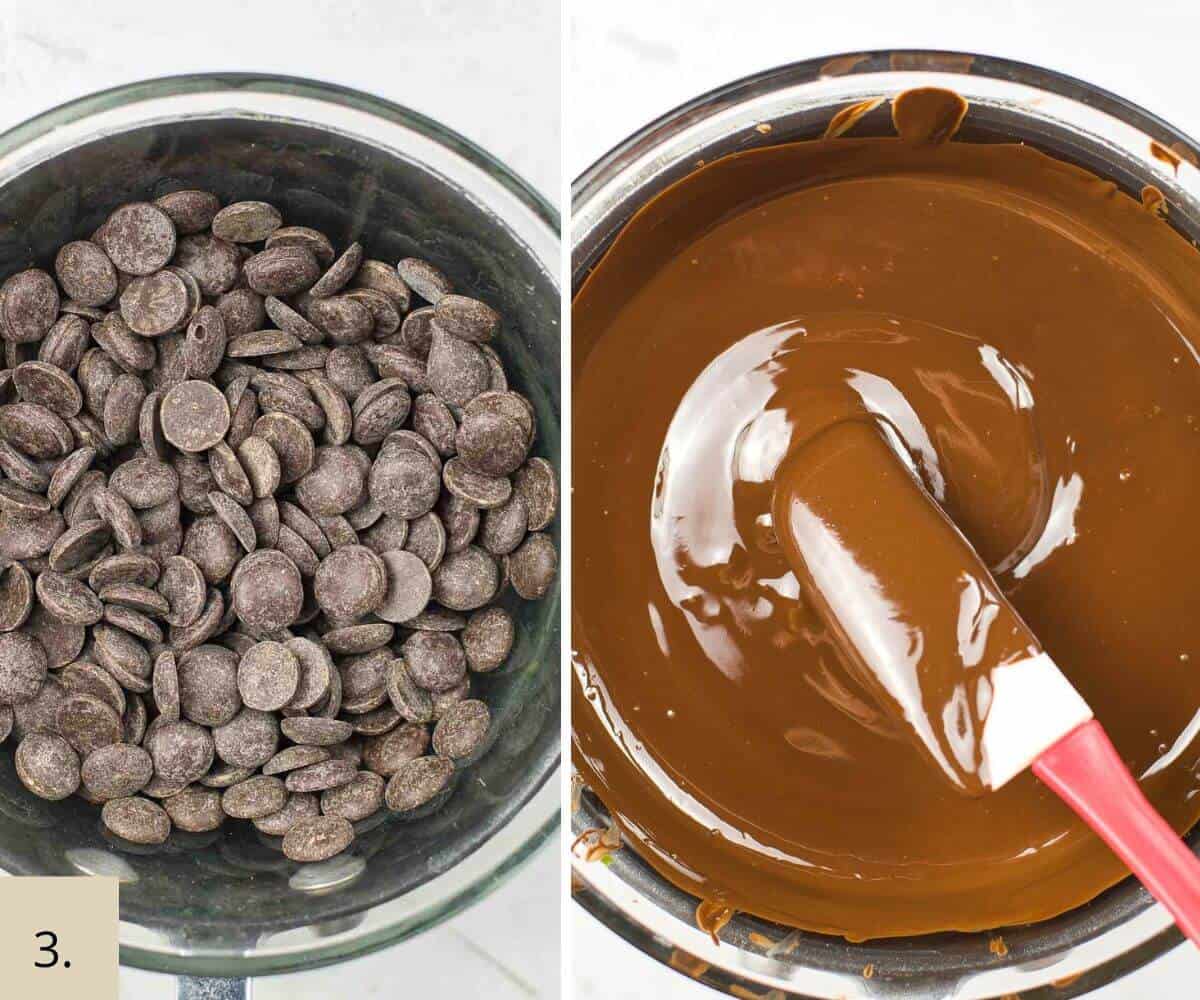
Pour Chocolate: Once melted, pour the chocolate over the bars and spread evenly to create a chocolate layer.
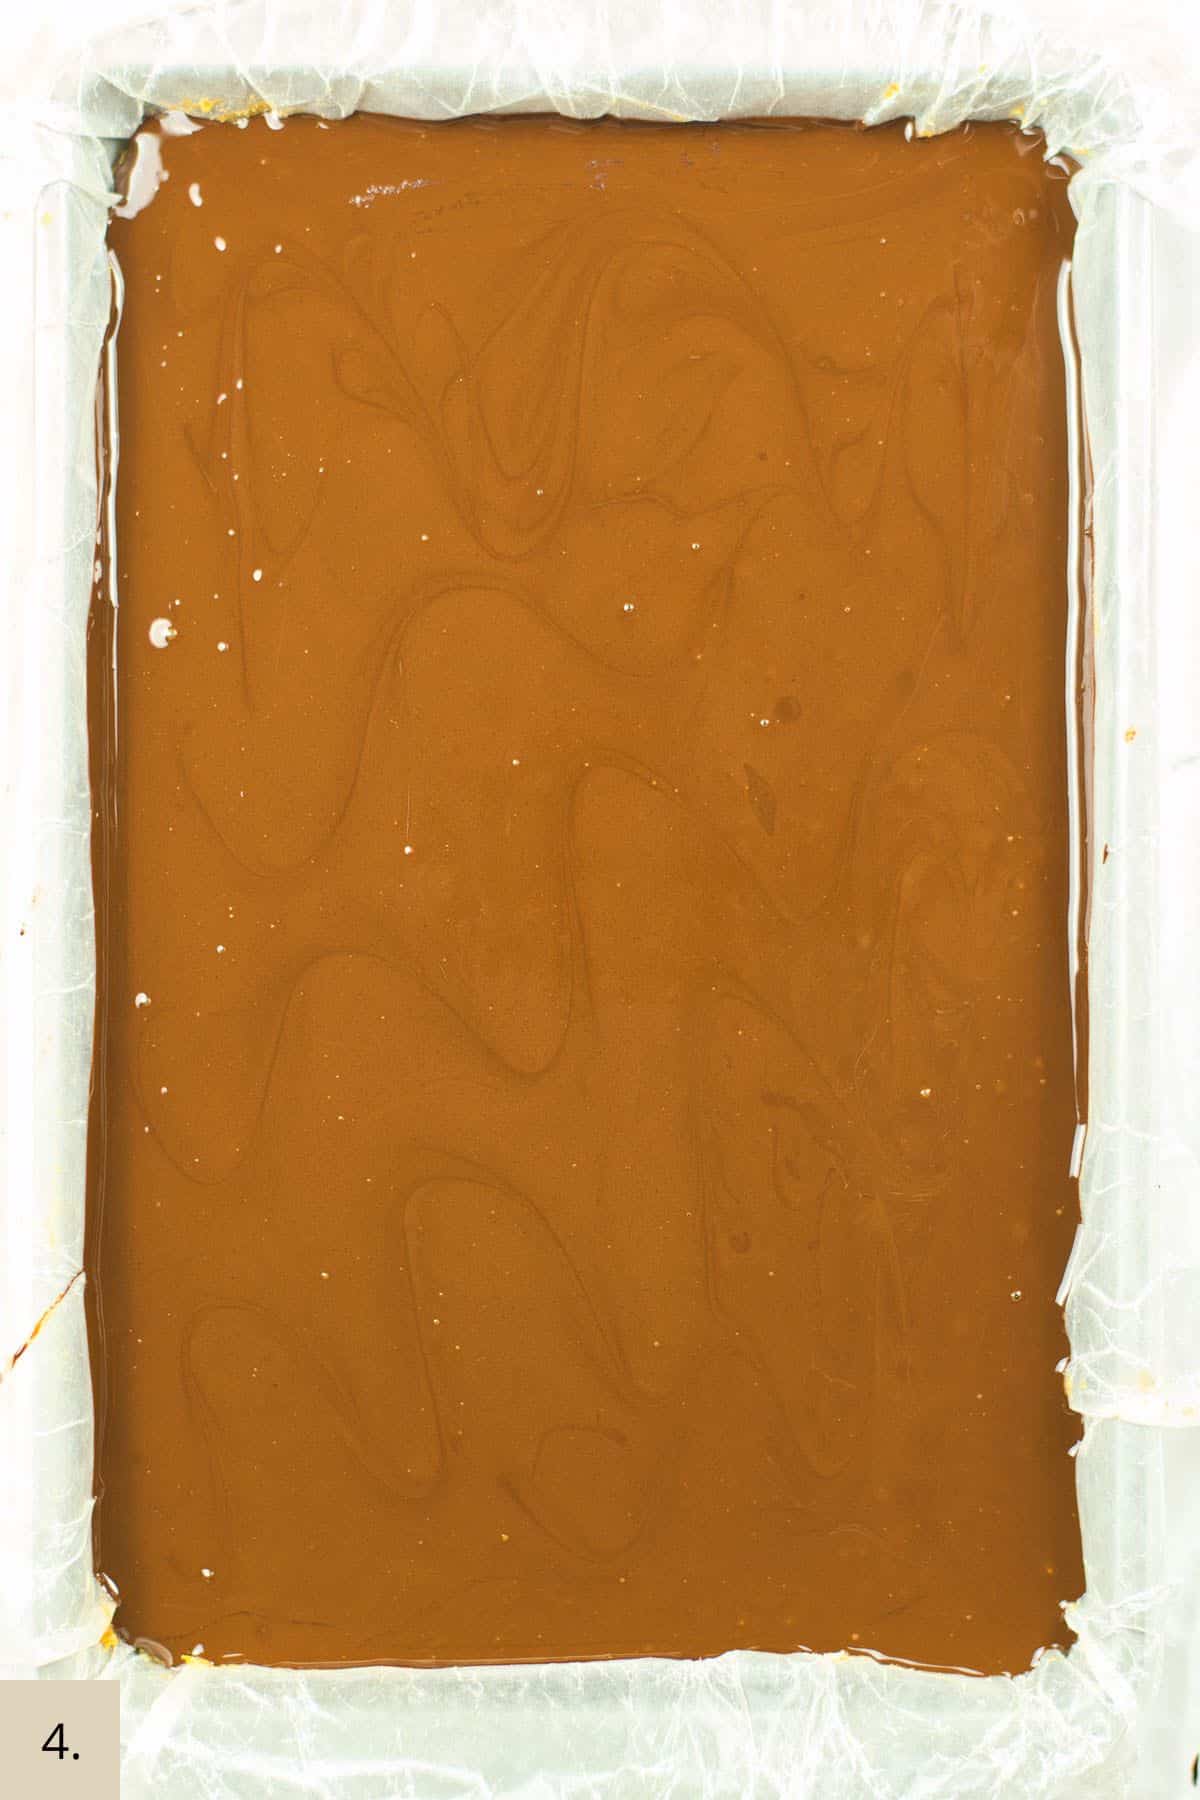
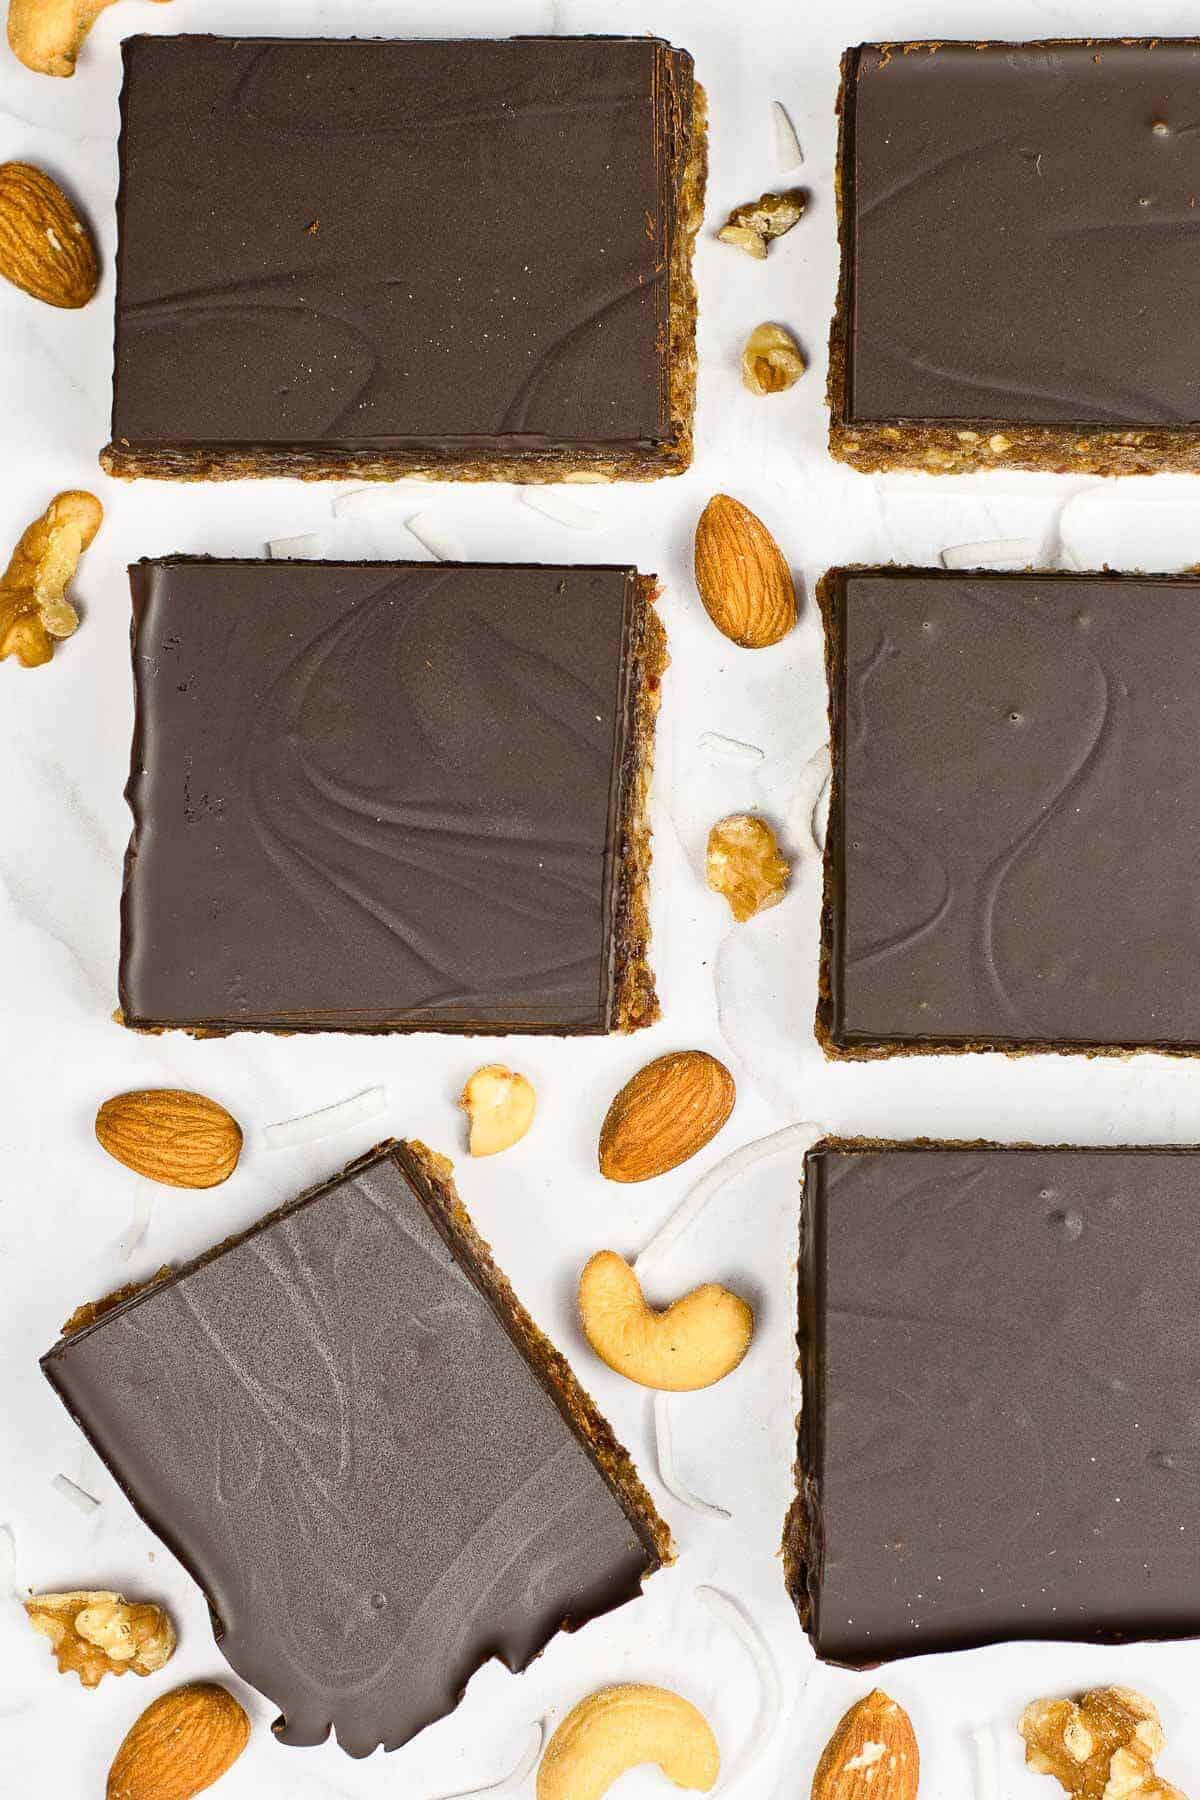
Chill: To set the chocolate layer, place the bars in the fridge for 60 minutes. Use a sharp knife to gently slice the bars into the desired size (12 big, 24 regular bars).
Optional Add In’s
- Spices: A quarter teaspoon of spices such as ground cinnamon, ground ginger, or mixed spice can add additional warmth.
- Seeds/berries: a tablespoon or two of pumpkin or sunflower seeds, or even goji berries will add extra texture.
- Sea Salt: add sea salt flakes sparingly at the end, on top of the chocolate just before chilling. Just a very small pinch scattered over the top should be enough.
- Nut Butter: Add a tablespoon of nut butter (slightly melted) and use a toothpick to swirl through the chocolate top before putting in the fridge to chill. Or you can try my other tried and true Chocolate Peanut Butter Bars recipe.
- Extra chocolate chips: for more texture and crunch scatter a couple of tablespoons of chocolate chips through the chocolate before chilling. Or add them to the melted chocolate before pouring onto the base if you want them completely covered in chocolate.
Recipe Tips
- Soak the dates: Soaking the dates in warm water for 5 minutes will help to soften them and make them easier to blend into a smooth paste.
- Nuts: Pulse the nuts in a food processor to chop them coarsely, but not too finely, to add texture to the bars.
- Adjust the sweetness: You can control the sweetness of your bars by adjusting the number of dates used. If you prefer sweeter bars, add more dates. If you prefer a less sweet taste, use fewer dates or add more nuts.
- Pressing the Base: Firmly press the mixture into the pan to ensure that the bars hold together well.
- Line the pan: Line your 7x11 inch baking pan with baking/parchment paper to prevent sticking and make it easier to remove the bars from the pan.
- Chill the bars: Once the bars are finished baking, let them cool completely in the pan before cutting them into squares. Chilling them in the refrigerator for at least 60 minutes will help the bars hold their shape and make them easier to slice.
- Cutting: for clean cutting lines, use a sharp knife dipped in hot water and wiped dry. Clean, rinse and run the knife under hot water in between each cut to achieve those perfectly smooth clean
Storage
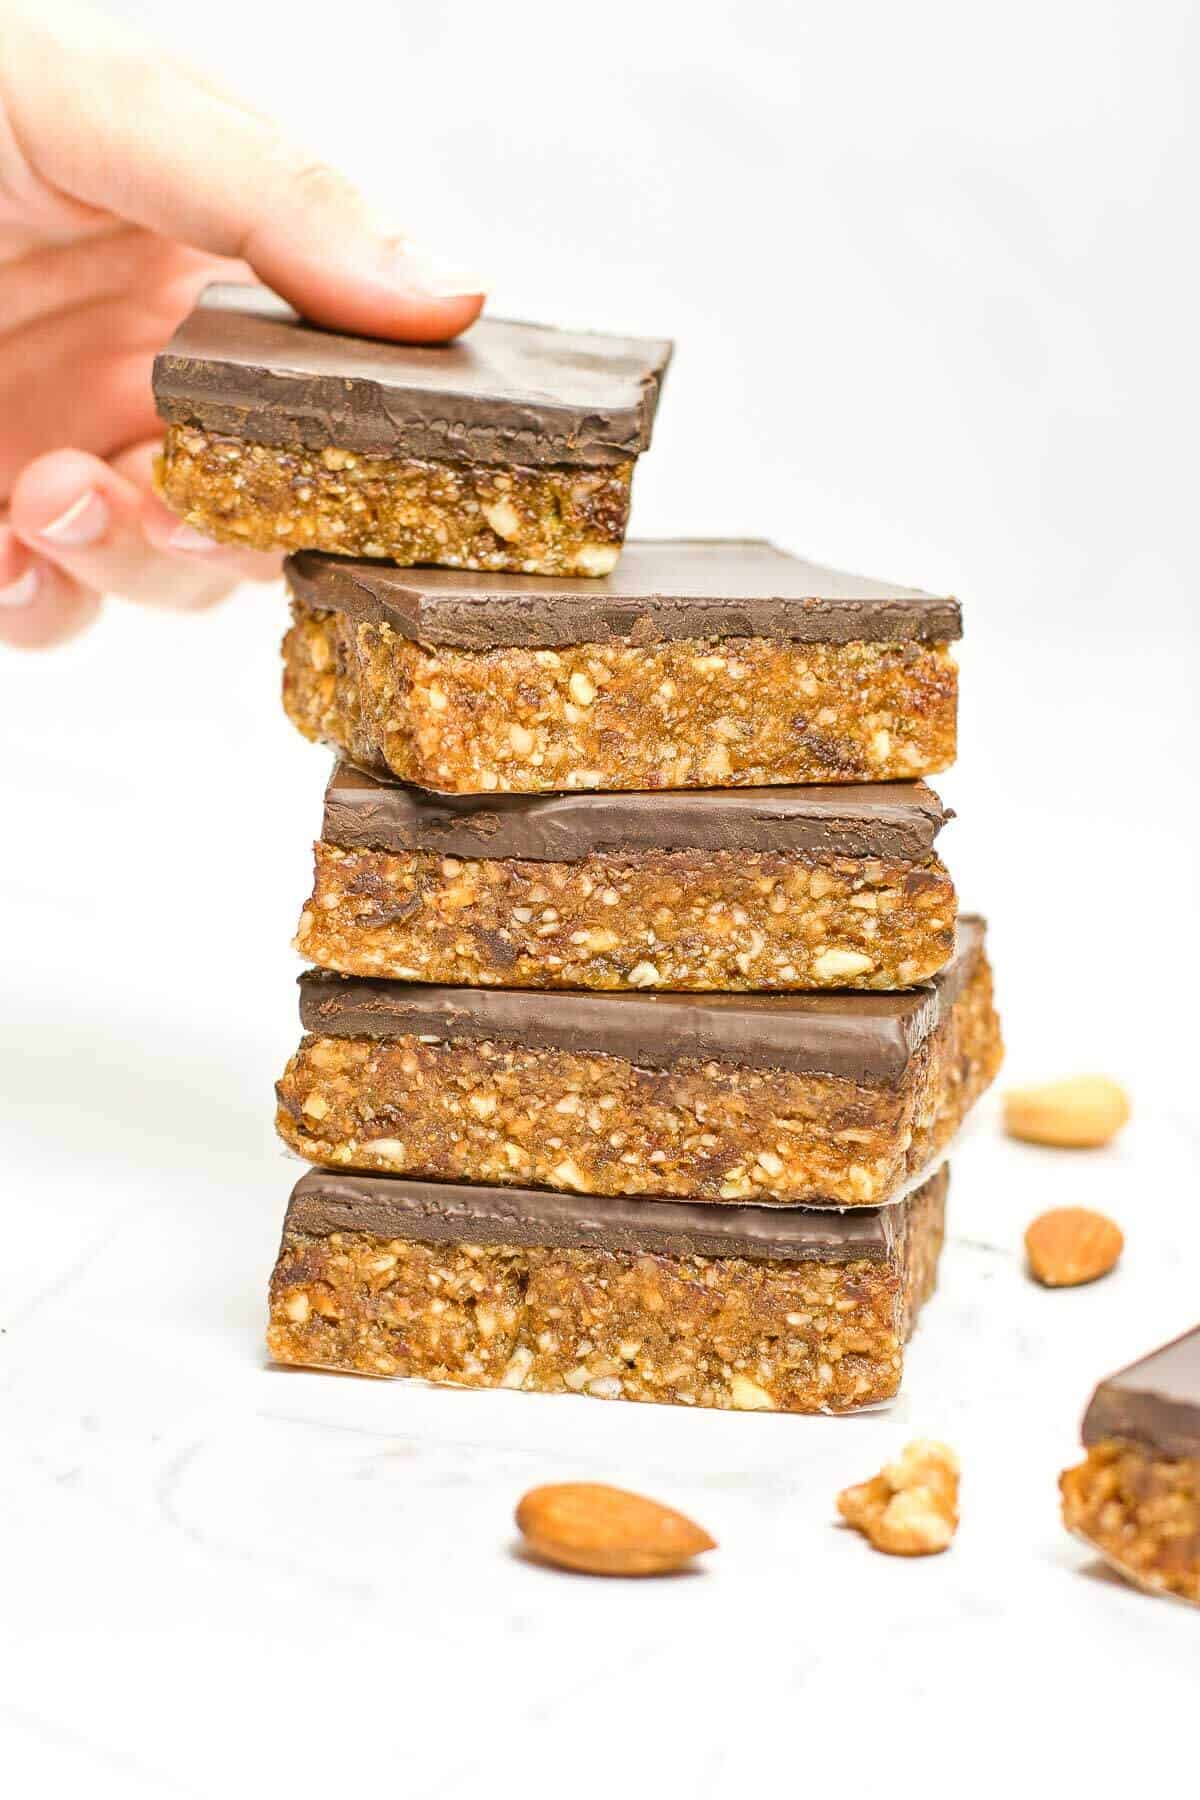
This recipe for date nut bars will keep in the fridge in an air tight container for 7 days. I wouldn’t recommend freezing with the chocolate top.
Many store-bought date and nut bars can be high in added sugars or unhealthy fats, while homemade date nut bars are made with healthier ingredients, are naturally sweetened, and are nutrient-dense which means they will keep you fuller for longer and keep cravings at bay.
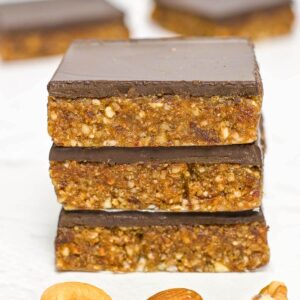
Date Nut Bars
Equipment
- Food Processor
Ingredients
- 11-12 large Medjool Dates, (380 grams) - pitted and soaked for 5 minutes, drained
- 1½ cup Mixed Nuts, (255 grams)
- ¾ cup Shredded coconut, (100 grams)
- 1⅔ cup Sugar Free Dark Chocolate Chips, (300grams)
Instructions
- Line a 7x11 inch loaf pan with parchment paper for easy removal, or use a silicone pan for a non-stick surface and place it on a baking sheet for stability.
Base
- Using a food processor, blend the pitted dates with the nuts and the shredded coconut until small pieces of nuts are visible and the mixture is sticky.11-12 large Medjool Dates, (380 grams), 1½ cup Mixed Nuts, (255 grams), ¾ cup Shredded coconut, (100 grams)
- Transfer the mixture to the prepared pan, using the base of a measuring cup or your hands to press evenly into all corners and flatten the surface.
Melting Chocolate
- For a smooth and creamy texture, melt the chocolate in a glass bowl over a pot of water on low heat on the stovetop. Stir frequently to avoid burning and to ensure the chocolate is fully melted. (See tips below for alternative methods for melting chocolate)1⅔ cup Sugar Free Dark Chocolate Chips, (300grams)
- Once melted, pour the chocolate over the bars and spread evenly to create a chocolate layer.
Chilling
- To set the chocolate layer, place the bars in the fridge for 60 minutes.
- Use a sharp knife dipped in hot water to slice into 24 bars.
Notes
- Dates: Fresh, soft dates are the best for this recipe as they are easier to mix with the other ingredients.
- Soak the dates: Soaking the dates in warm water for 5 minutes will help to soften them and make them easier to blend into a smooth paste.
- Mix Nuts: You can use any combination of nuts that you like, such as almonds, walnuts, pecans, cashews, etc. Nuts add crunch and flavor to the snack. If you have any nut allergies, you can substitute with dried fruit or seeds.
- Sugar Free Dark Chocolate: Sugar free dark chocolate chips or a bar will both work. If using a bar, dice chocolate before melting.
- Can't find sugar free chocolate? Look for a high-quality dark chocolate with at least 70% cocoa content for the best flavor. Dark chocolate provides a rich, intense flavor that pairs well with the sweetness of the dates and nuttiness of the mix nuts.
- Melting Chocolate: If you don't have a glass bowl to go over a pot on the stove, chocolate chips can be melted in the pot alone, just be extra careful to keep watch on it so it doesn't burn. Or, Chocolate can be melted in the microwave, on medium heat in 30 seconds bursts, stirring in between until "just" melted.
- Optional ingredients: You can also add spices, such as cinnamon or nutmeg, for extra flavor, or add a sprinkle of sea salt for a touch of saltiness.
- Adjust the sweetness: You can control the sweetness of your bars by adjusting the number of dates used. If you prefer sweeter bars, add more dates. If you prefer a less sweet taste, use fewer dates or add more nuts.
- Line the pan: Line your 7x11 inch baking pan with parchment paper to prevent sticking and make it easier to remove the bars from the pan.
- Chill the bars: Once the bars are finished baking, let them cool completely in the pan before cutting them into squares. Chilling them in the refrigerator for 60 minutes will help the bars hold their shape and make them easier to slice.
Nutrition
Note: Sugars contained in this recipe are from naturally occurring sugars in fruits, vegetables or other natural sweeteners. Calories have been calculated for your convenience using My Fitness Pal and are based on the ingredients listed in the recipe card.
Common Questions
My recipe for date nut bars makes 12 portions and each portion is 376 calories.
You can certainly use a sugar free milk chocolate for the top, however I find that a dark chocolate pairs better with the nuts and makes for a richer more indulgent treat.


Comments
No Comments