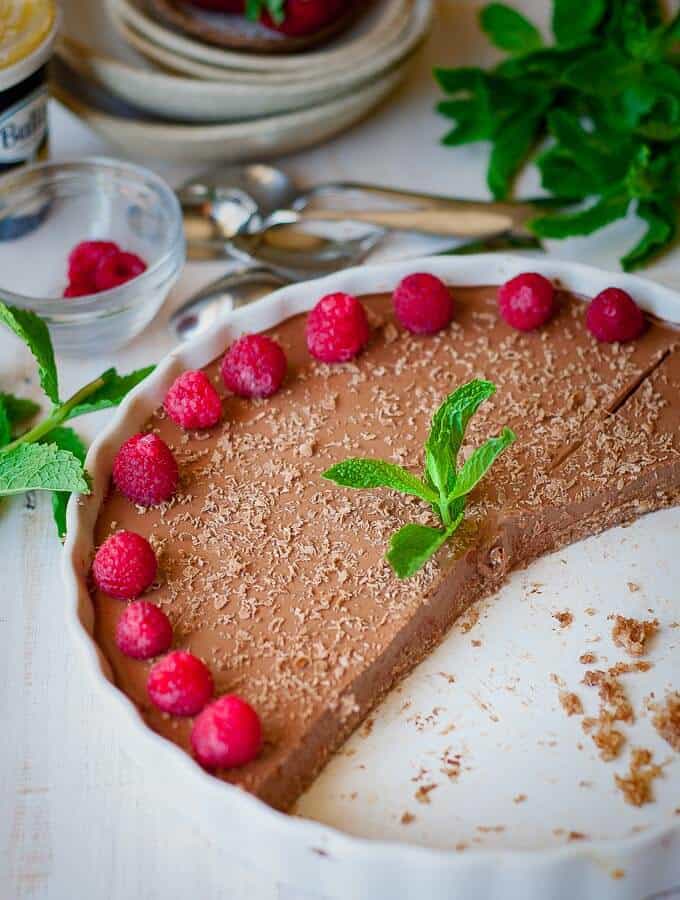
This Chilli Chocolate Cheesecake is decadent, delicate, and light, with just a hint of chilli to wake up the tastebuds. It’s sweetened with stevia and is the perfect dessert to indulge in with friends at a dinner party or high tea, and is an all season crowd pleaser.
Save This Recipe
Enter your email below and I'll send this recipe link straight to your inbox so you'll always have it handy!
The delicious combination of chocolate and chilli is one that I love and you wouldn’t know it but this cheesecake is sugar free, low carb, high protein and low calorie. This sugar free chocolate cheesecake will definitely cure any sweet craving you have, leaving you pleasantly satisfied, yet in anticipation of your next slice.
What Type Of Chilii To Use
The best type of chilli to use in a chilli chocolate cheesecake is a fine powdered chilli, such as ground chilli, or Mexican chilli powder. Remember that the hotness of chilli powders varies greatly between brands, and I always take the approach of using less to begin with and tasting as I go, adding a little more at a time, until it has the heat I want.
When I make this chilli chocolate dessert I make sure not to overpower it by using too much chilli, as too much chilli powder would definitely take away from the chocolate flavour.
The chilli should be noticable, yet subtle so that you can still savour that rich velvet creaminess and then be surprised with warmness of chilli on the back of your pallete.
This is a chilli dessert, not a curry, so do go easy on the chilli.
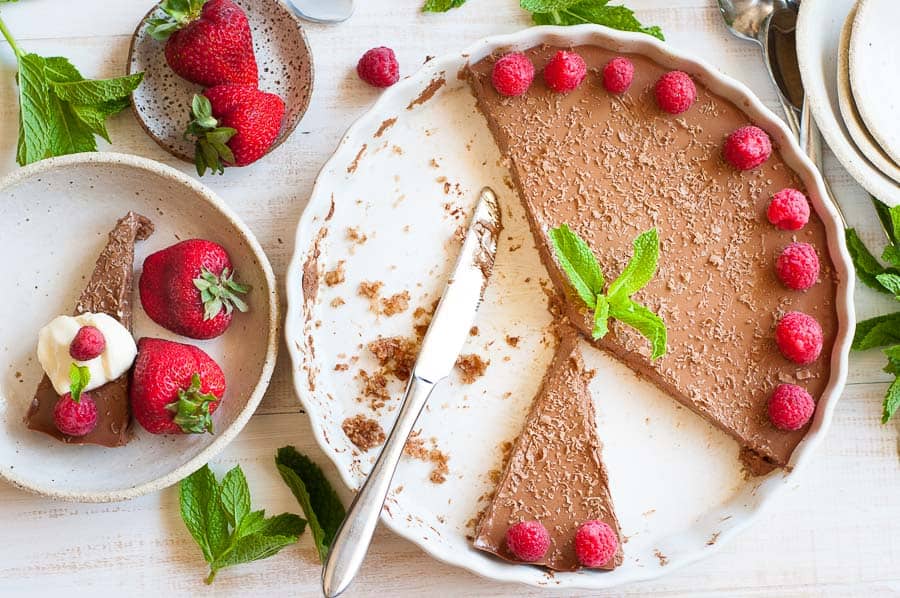
Do You Bake The Chilli Chocolate Cheesecake In A Water Bath?
Yes. When making a large cheesecake, a water bath helps to prevent the cheesecake overcooking and browning, particularly around the sides and bottom. It’s an extra step to set up, but well worth the effort when you get a perfectly cooked velvety sugar free chocolate cheesecake.
The Best Dish To Bake a Chilli Cheesecake in
I use a round ceramic dish and I make sure to wrap the base and up the sides with foil. So, foil on the bottom and up the sides only. Don't cover the cheesecake with foil on top. Yes you will use a lot of foil but this is not your everyday cheesecake and it does pay off. Also, you can reuse the foil if you take it off gently. The foil helps to keep the cheesecake bottom from overcooking.
If you love cheesecake like me, you might like my other cheesecake recipes: Fruit Salad Tart (which is basically a cheesecake), my Jaffa Cheesecake, these Mini Lime Cheesecakes, Mini Rich Chocolate Cheesecakes, and Zingy Lemon Cheesecake.
This is a low calorie decadent chocolate chilli cheesecake, naturally sweetened with Stevia, on of my favourite natural sweeteners that I use almost exclusively in my sugar free baking. You can read more about Stevia and the brand I use here.
♥ If you're dieting or detoxing after a Christmas or birthday blowout and still want to squeeze in some yuminess, this is a must make recipe.
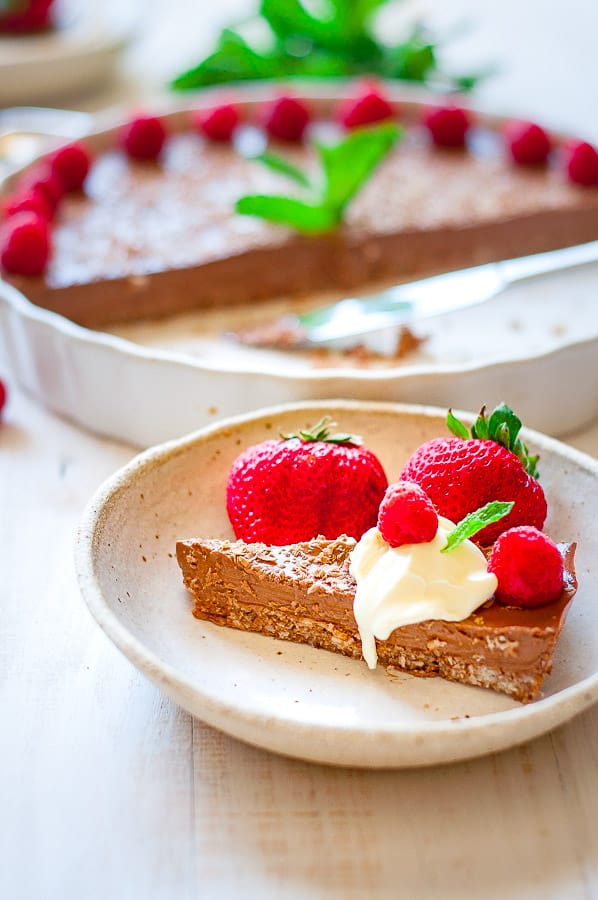
Can you freeze a baked cheesecake?
Yes you can freeze baked cheesecakes, but honestly, this sugar free chocolate cheesecake never lasts that long in our household so I don’t really have a need to freeze them. Although if you want to eat half and freeze the other half, say if you’re going away for example, the best bet would be to put the cheesecake into and air tight container. It would keep for a couple of months in the freezer.
How To Make a Baked Cheesecake?
- Blitz the base ingredients in the food processor and press into a round ceramic tart dish and bake
- Clean the food processor
- Blitz the filling ingredients in the food processor and pour into a round ceramic tart dish
- Prepare a large baking pan with boiling water – aka the water bath
- Wrap the cheesecake tart dish in foil, base and sides only, sealing it as tightly as you can
- Place tart dish into water bath gently and put into oven (120 degrees C/270 degrees F)
- Remove from oven and let it cool to room temperature in the water bath
- Once at room temperature, remove from water bath and remove foil
- Cover with plastic wrap and refrigerate overnight
How Long Does It Take To Make A Baked Cheesecake?
Its best to make a baked cheesecake the day before to give it enough chill time and to allow the texture and creaminess to develop.
Recipe Tips
- Use a ground chilli powder for a smooth velvet cheesecake finish, not sweet chilli sauce, chilli jam or chilli flakes
- Use a food processor or high speed blender to mix the base and then the filling. It will create the right texture and consistency. Doing things by hand will result in a lumpy cheesecake base and a filling that is not a smooth as it should be.
- Take time to prepare the water bath, it really does make all the difference
- Let the cheesecake cool to room temperature once out of the oven and before removing from the water bath
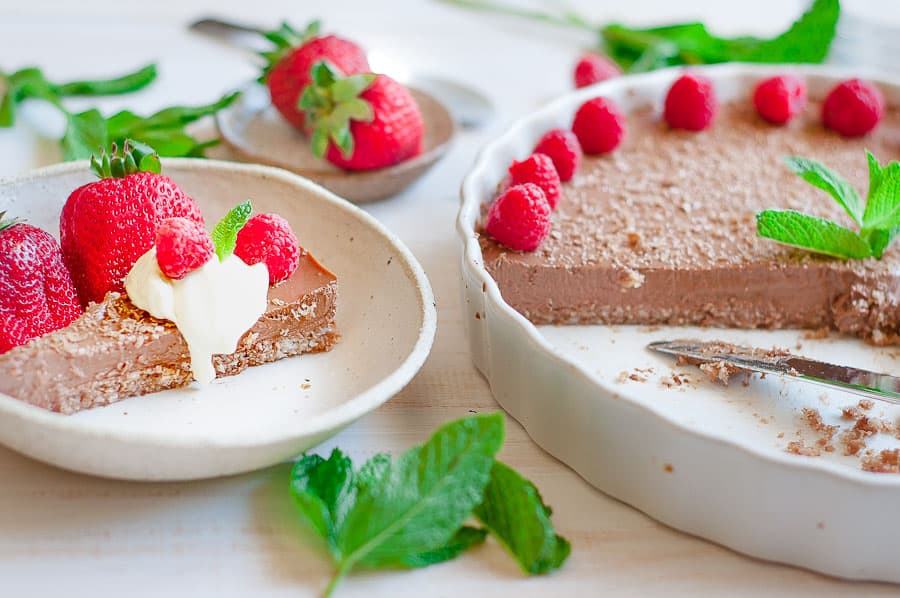
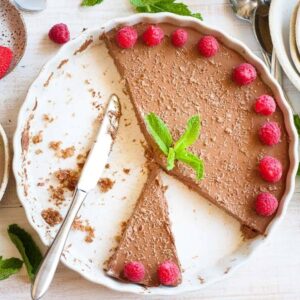
- Serve with double cream and fresh raspberries (this is an absolute must!)
TIP: This chilli chocolate dessert is oven baked, however it will continue setting and firming up after it is removed from the oven. It needs 2 hours cooling time, covered on the bench, then it's into the fridge for 8 hours to become fully set and firm.
If you're a fan of chilli chocolate (I am), you should definitely put this on your list to make. It looks impressive, but its surprisingly easy to make, and on all the times I have made it for family and friends, this chilli chocolate with delicious double cream has been a dinner party hit.
Chilli Chocolate Cheesecake (Sugar Free/Low Carb)
Ingredients
Base
- ⅔ cup Desicated coconut
- ⅔ cup Almond meal
- 1 large Egg White - (reserve the yolk)
- 2 tablespoons Unsweetened Cocoa Powder
- Pinch Sea Salt
Filling
- 500 grams Light Cream Cheese
- 3 medium Eggs
- 1 Egg yolk - (saved from egg used in base)
- 2 tablespoons Unsweetened Cocoa Powder
- 130 grams Granulated Stevia
- ½ teaspoon Vanilla bean paste
- ½ teaspoon Ground Chilli
Instructions
Preparation
- Let cream cheese sit at room temperature for 10 to 15 minutes to soften up whilst you prepare the base.
Base
- Add all base ingredients into a food processor and blitz to combine.
- Remove from food processor and press into a round tart dish (I used a round ceramic tart dish 25cm in diameter).
- Bake the base in the oven at 170 degrees C/338 farenheit (fan forced) for 10 minutes.
- Remove base from oven and let cool (approx 30 to 40 mins). Clean the food processor for the filling.
- Keep the oven on, and turn down to 120 degrees C/250 farenheit (fan forced).
Filling
- Once food processor has been cleaned from the base ingredients, add the cream cheese, 3 eggs, and 1 egg yolk leftover from the base. Blitz to combine.
- Add the cocoa powder, granulated stevia, vanilla bean paste and ground chilli powder. Blitz to combine.
- Once base is at room temperature, add the filling mix.
- Cheesecake will be baked in a water bath, so get a large heavy baking tray that will fit the cheesecake dish.
- Wrap foil around the bottom of the cheesecake dish and squish the foil into the sides around the dish. With foil in place, lift the cheesecake gently into the baking tray. (note: do not cover the cheesecake with foil, just the bottom and ½ way up the sides)
- Add boiling water to the baking tray so that it comes upto about ⅓ of the cheesecake dish.
- Put the baking tray with the cheesecake in the water bath into the oven and bake for 45 minutes at 120 degrees C/250 farenheit (fan forced).
- After 45 minutes, turn the oven off and remove cheesecake. Lift out the baking tray, water will still be in the base. (note: when you remove the cheesecake from the oven it will not be firm all the way through. It will further set as it cools to room temperature and in the fridge)
- Leave cheesecake in the baking tray to cool to room temperature. Do not put into the fridge straight away, otherwise it will crack. Usually it is about 1 to 2 hours to bring it to room temp. Place a tea towel over the baking dish, making sure not to touch the cheesecake. This ensures no nasties will get to it whilst it is cooling.
- Once cheesecake is at room temperature, remove from baking tray, cover with foil and refrigerate overnight or for minimum 8 hours before eating.
- Optional: Finely grate over some sugar free chocolate.
- Cheesecake will keep covered in the fridge for 4 or 5 days. Best served with fresh raspberries and a dollop of double cream.
Notes
- Calories do not include the double cream or raspberries.
Nutrition
Note: Sugars contained in this recipe are from naturally occurring sugars in fruits, vegetables or other natural sweeteners. Calories have been calculated for your convenience using My Fitness Pal and are based on the ingredients listed in the recipe card.


monika
There is a mistake in your instructions:
Filling
Once food processor has been cleaned from the base ingredients, add the cream cheese, 3 eggs, and 1 egg white leftover from the base. Blitz to combine
It should read, "and 1 egg YOLK leftover from the base" since, in the base, the egg WHITE was used.
Kim
Thanks for the pick up. The recipe has been updated.